Starting a '65 CA95 Restoration
Today I got the rest of the engine together. A few pieces gave me grief. The alternator rotor was a pain, getting that little key to sit right so I could get it onto the crankshaft. I'm sure there's a trick to it, but I finally got it to slide on. Getting the master link clips on the camshaft chain and the starter chain were no fun, either. It amazes me that some of you disassemble and reassemble these engines all the time.
Same ol' drill as you've all done before. New clutch plates, gaskets, seals, etc. I also replaced many fasteners with stainless steel ones. For the engine cases, I went with stainless button head socket (Allen) screws. The button heads are nicely low-profile and look nice.
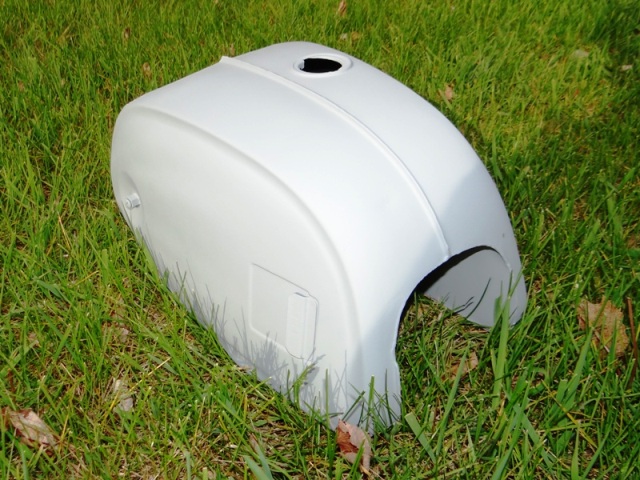
Now I just need to get that frame and the other body pieces painted.

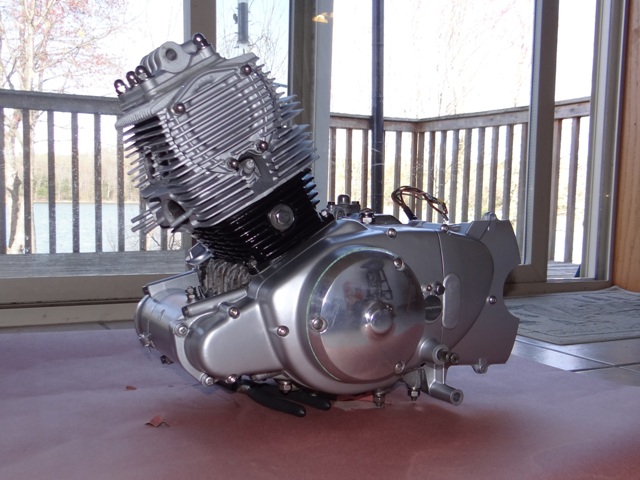
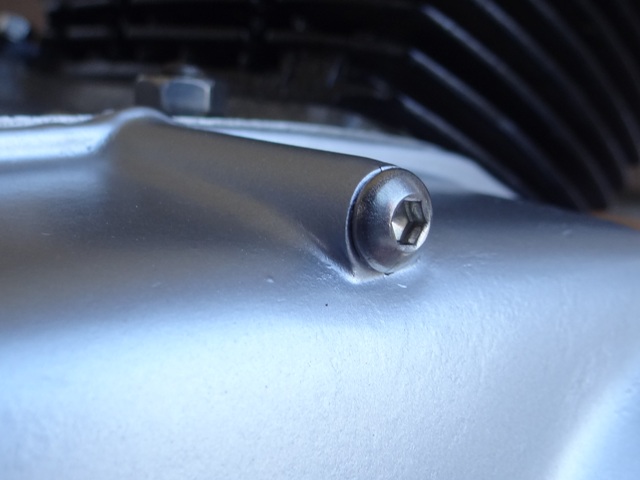
Same ol' drill as you've all done before. New clutch plates, gaskets, seals, etc. I also replaced many fasteners with stainless steel ones. For the engine cases, I went with stainless button head socket (Allen) screws. The button heads are nicely low-profile and look nice.
Now I just need to get that frame and the other body pieces painted.
-
Puzzleparadise
- Posts: 75
- Joined: Sat Mar 31, 2012 4:27 pm

I got my stainless metric fasteners from Bolt Depot. Here's the page for the 6mm stainless metric button heads:
http://www.boltdepot.com/Metric_socket_button_head_Stainless_steel_18-8_6mm_x_1.0mm.aspx
http://www.boltdepot.com/Metric_socket_button_head_Stainless_steel_18-8_6mm_x_1.0mm.aspx
-
Jetblackchemist
- Posts: 463
- Joined: Thu Apr 28, 2011 10:59 am
I twist a pipe cleaner on the cam chain to place it; where I want it...speaking of which, I hope you put the master link connecting clip facing the right way for rotation.
The woodruff key goes much easier; if you rock the key forward in the key way when it goes in...it rocks back horizontal and slides into place...sort of like a rocking chair action. If the magnets keep grabbing the key...a tad bit of heavy grease, or some weaker loctite will hold it til its lined up and on.
Motor looks good, I painted the Honda logo on mine as well...Bright red nail polish for a dollar goes a long way and works great. I used it on the fender brace badges, the front cowl badge and the bar controls too.
The woodruff key goes much easier; if you rock the key forward in the key way when it goes in...it rocks back horizontal and slides into place...sort of like a rocking chair action. If the magnets keep grabbing the key...a tad bit of heavy grease, or some weaker loctite will hold it til its lined up and on.
Motor looks good, I painted the Honda logo on mine as well...Bright red nail polish for a dollar goes a long way and works great. I used it on the fender brace badges, the front cowl badge and the bar controls too.
Last edited by Jetblackchemist on Sat Apr 07, 2012 6:46 pm, edited 1 time in total.
Yeah, the master link clips were installed facing the correct direction.Jetblackchemist wrote:I twist a pipe cleaner on the cam chain to place it; where I want it...speaking of which, I hope you put the master link connecting clip facing the right way for rotation.
The woodruff key goes much easier; if you rock the key forward in the key way when it goes in...it rocks back horizontal and slides into place...sort of like a rocking chair action. If the magnets keep grabbing the key...a tad bit of heavy grease, or some weaker loctite will hold it til its lined up and on.
Motor looks good, I painted the Honda logo on mine as well...Bright red nail polish for a dollar goes a long way and works great. I used it on the fender brace badges, the front cowl badge and the bar controls too.
The Woodruff key didn't want to go into the keyway on the shaft. The fit was extremely tight. Perhaps there was a burr or some corrosion, not sure. Glad that's behind me.
For the Honda logo I just used a dab of Dupli-color car paint. I wanted a dark red/maroon but it came out lighter than I expected. No issue, I'll leave it as it is. My fender brace badges aren't going back on, since I'm adding the C95-style turn signals.
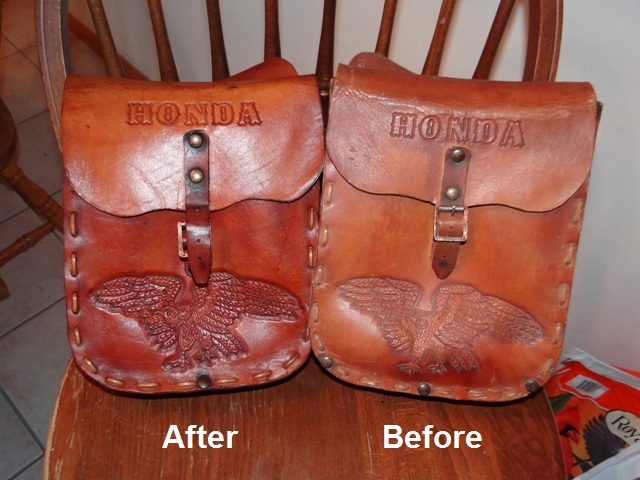
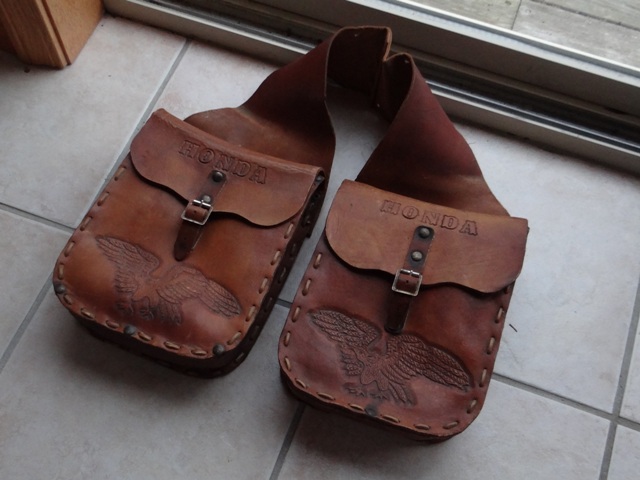
Heeding the advice from Spokes and Jetblackchemist, I decided to talk to a tack shop about my interesting old leather saddlebags. I was told to remove loose dust and dirt with a slightly damp cloth, then treat with a good quality saddle soap.
That's when the fun began. I went online to learn about saddle soaps, and quickly realized that the saddle soap debates are like religious wars among the horse folk, akin to the motor oil debates the bikers have. I studied the comments but noticed that there was a clear favorite, a product called Leather New. So, I got a bottle for myself and treated the saddlebags.
I'm pleased. The bags still have that patina of age, but the saddle soap has enhanced their appearance and feel. These bags should look good on the CA95 when it goes back together.
Before:
After:
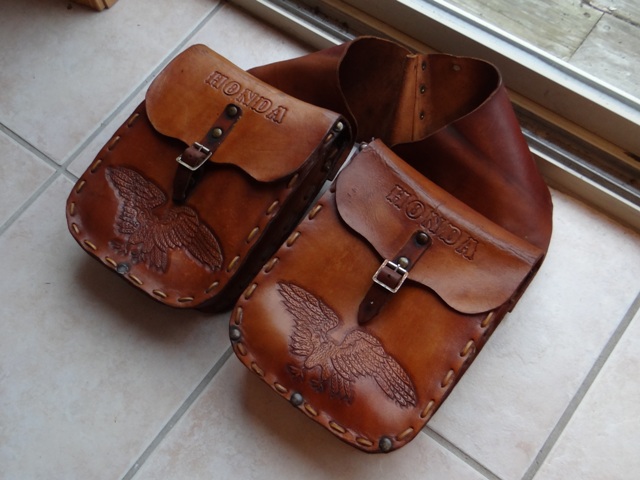
That's when the fun began. I went online to learn about saddle soaps, and quickly realized that the saddle soap debates are like religious wars among the horse folk, akin to the motor oil debates the bikers have. I studied the comments but noticed that there was a clear favorite, a product called Leather New. So, I got a bottle for myself and treated the saddlebags.
I'm pleased. The bags still have that patina of age, but the saddle soap has enhanced their appearance and feel. These bags should look good on the CA95 when it goes back together.
Before:
After:
-
Jetblackchemist
- Posts: 463
- Joined: Thu Apr 28, 2011 10:59 am
Saddle soap is good stuff, I noticed one bag has 3 rivets at the bottom and one side only has one. It makes me wonder if it was originally a saddle bag; that later turned into bike saddle bags.
If you put something heavy on one side of a horse it will naturally want to turn inward on that side, like if a rider prefers right inward turns, and the horse prefers left...its one way to make them favor the right turn. The three rivet side was most likely made that way to support that training weight.
I guess shoveling a lot of horse poo at my local stable growing up; was useful for more than some extra pocket cash.
If you put something heavy on one side of a horse it will naturally want to turn inward on that side, like if a rider prefers right inward turns, and the horse prefers left...its one way to make them favor the right turn. The three rivet side was most likely made that way to support that training weight.
I guess shoveling a lot of horse poo at my local stable growing up; was useful for more than some extra pocket cash.
Given the 'Honda' name embossed in the leather, I'm assuming that the bags were intended for use on a small motorcycle. I've written to the original owner in Canada to learn more. My assumption is that these were not a commercial product but instead were hand-made by a leather shop.Jetblackchemist wrote:I noticed one bag has 3 rivets at the bottom and one side only has one. It makes me wonder if it was originally a saddle bag; that later turned into bike saddle bags.
Without a doubt they're worth the $29 I paid for them.

-
Jetblackchemist
- Posts: 463
- Joined: Thu Apr 28, 2011 10:59 am
All you need now is the vintage wallet to match like this one: http://www.etsy.com/listing/94616679/vi ... h_type=all

The eBay seller that sold me the saddlebags sent me some additional information, which at least confirms my suspicion that these were hand-made:
"Before making their way to us, the saddlebags originally belonged to my cousin. He rode a Honda in the late 1960s. The bags were made by a college friend of his who also made those leather hippie hats very much in style at the time. They were used again later on in the early 80s on a small Honda we had at our old place up in the Laurentian Mountains. Kindest Regards from Canada."
That's probably all I'll ever learn about these bags, but it adds a little character to them.
"Before making their way to us, the saddlebags originally belonged to my cousin. He rode a Honda in the late 1960s. The bags were made by a college friend of his who also made those leather hippie hats very much in style at the time. They were used again later on in the early 80s on a small Honda we had at our old place up in the Laurentian Mountains. Kindest Regards from Canada."
That's probably all I'll ever learn about these bags, but it adds a little character to them.
When I was a kid, I loved to play in the sand. The sand was soothing and compliant, almost therapeutic. After a day of sand blasting motorcycle parts, I’m starting to reconsider my feelings for sand. Unless you like the taste of industrial silica sand and the droning of an air compressor, sand blasting is no fun.
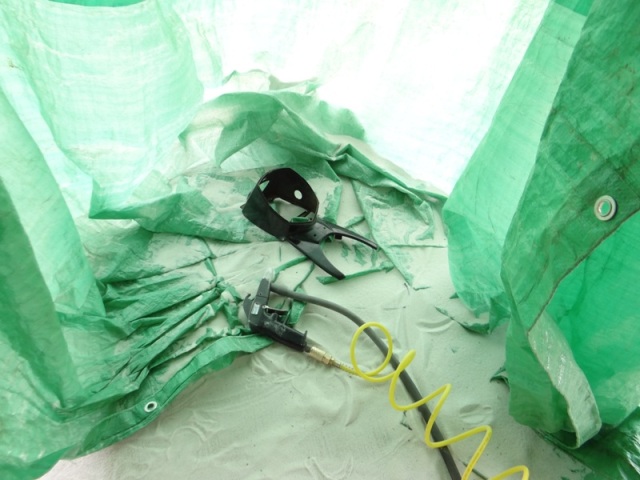
The motorcycle frame is too large for a sand blasting cabinet, so I made a sand blasting “booth” by hanging a tarp under my deck. I simply sat inside the "booth" with the part, put on an old motorcycle helmet I got from a garage sale, and blasted away. After 15 to 20 minutes, I just lifted the tarp to pour the sand into a pile, scooped it up with a shovel and reloaded the blaster. Even with the helmet, the sand got in my hair, my ears, and places I’d rather not discuss.
I was hoping to finish this work in a single weekend, but I can see that it’ll take two weekends to sand blast all the parts.
My sand blasting "booth":
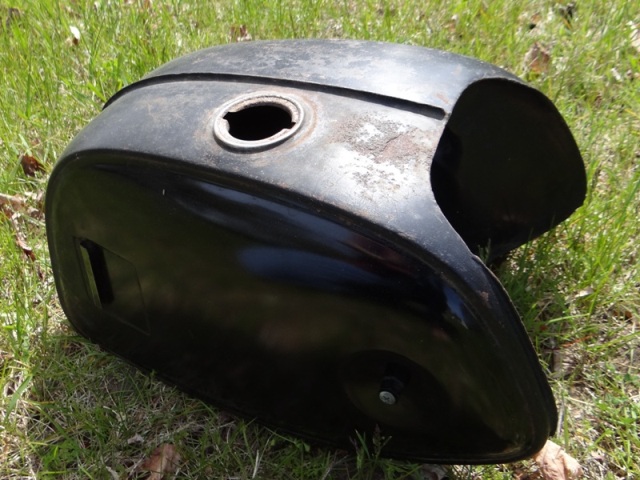
Before blasting:
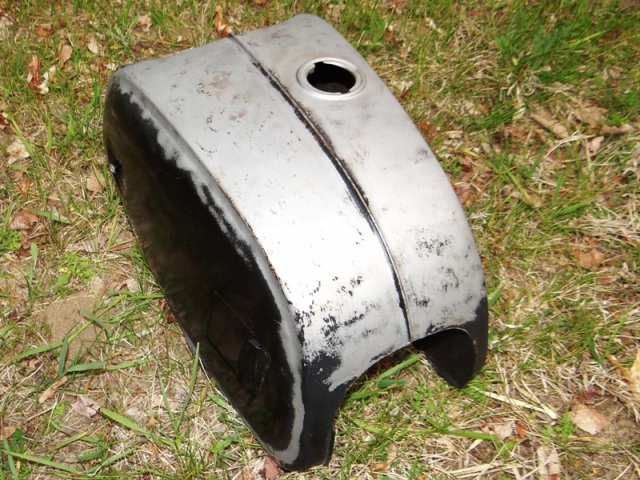
Loose paint and rust are gone:
Primed and ready for wet sanding:
The motorcycle frame is too large for a sand blasting cabinet, so I made a sand blasting “booth” by hanging a tarp under my deck. I simply sat inside the "booth" with the part, put on an old motorcycle helmet I got from a garage sale, and blasted away. After 15 to 20 minutes, I just lifted the tarp to pour the sand into a pile, scooped it up with a shovel and reloaded the blaster. Even with the helmet, the sand got in my hair, my ears, and places I’d rather not discuss.
I was hoping to finish this work in a single weekend, but I can see that it’ll take two weekends to sand blast all the parts.
My sand blasting "booth":
Before blasting:
Loose paint and rust are gone:
Primed and ready for wet sanding:
-
Jetblackchemist
- Posts: 463
- Joined: Thu Apr 28, 2011 10:59 am
galling
"I also replaced many fasteners with stainless steel ones. For the engine cases, I went with stainless button head socket (Allen) screws."
Hey, just a heads up about a rumor I heard concerning stainless bolts. If you use them with aluminum threads the aluminum might wear away. Something about Galling or such. Honda uses cadnium coated bolts, or some magic material like that.
Cheers
Hey, just a heads up about a rumor I heard concerning stainless bolts. If you use them with aluminum threads the aluminum might wear away. Something about Galling or such. Honda uses cadnium coated bolts, or some magic material like that.
Cheers