Headlight rebuild
-
Jetblackchemist
- Posts: 463
- Joined: Thu Apr 28, 2011 10:59 am
 Headlight rebuild
Done.
Last edited by Jetblackchemist on Fri Nov 09, 2012 10:08 pm, edited 1 time in total.
-
Jetblackchemist
- Posts: 463
- Joined: Thu Apr 28, 2011 10:59 am
extra note
Done.
Last edited by Jetblackchemist on Fri Nov 09, 2012 10:08 pm, edited 1 time in total.

-
Jetblackchemist
- Posts: 463
- Joined: Thu Apr 28, 2011 10:59 am
what exactly does h4 mean?
is that just the style of the bulb?
would one of these work for a standard 6v system?
http://www.jpcycles.com/product/330-048
is that just the style of the bulb?
would one of these work for a standard 6v system?
http://www.jpcycles.com/product/330-048

-
Jetblackchemist
- Posts: 463
- Joined: Thu Apr 28, 2011 10:59 am
-
Jetblackchemist
- Posts: 463
- Joined: Thu Apr 28, 2011 10:59 am
-
Jetblackchemist
- Posts: 463
- Joined: Thu Apr 28, 2011 10:59 am
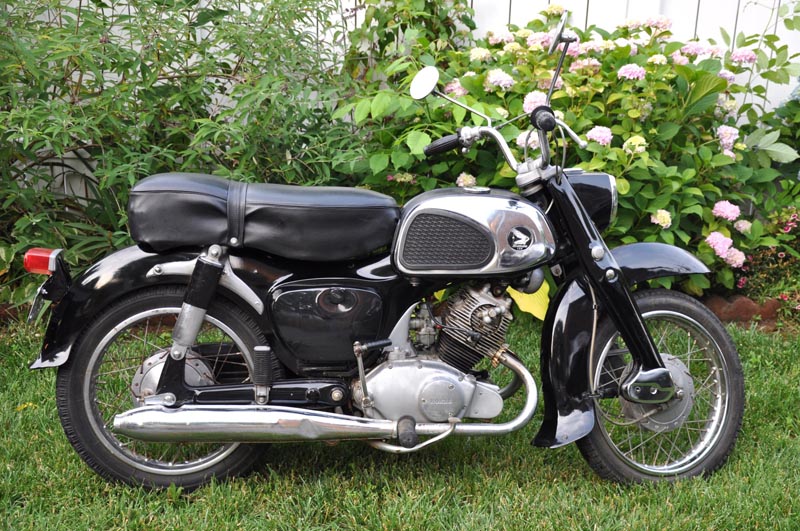
 Our "new" 63 Benly Baby Dream - The Time Machine
Hello everyone! My wife and I recently bought a 63 Benly 150 and came across this forum while searching for parts and advice. Thanks to Jetblackchemist's detailed headlight tutorial we were able to get our headlight working again for $7! Although we haven't converted to 12 volts we found a 6 volt bulb that worked for us. While it's the not brightest bulb in the world (no jokes) it should at least make us visible at night.
Here's our Benly!
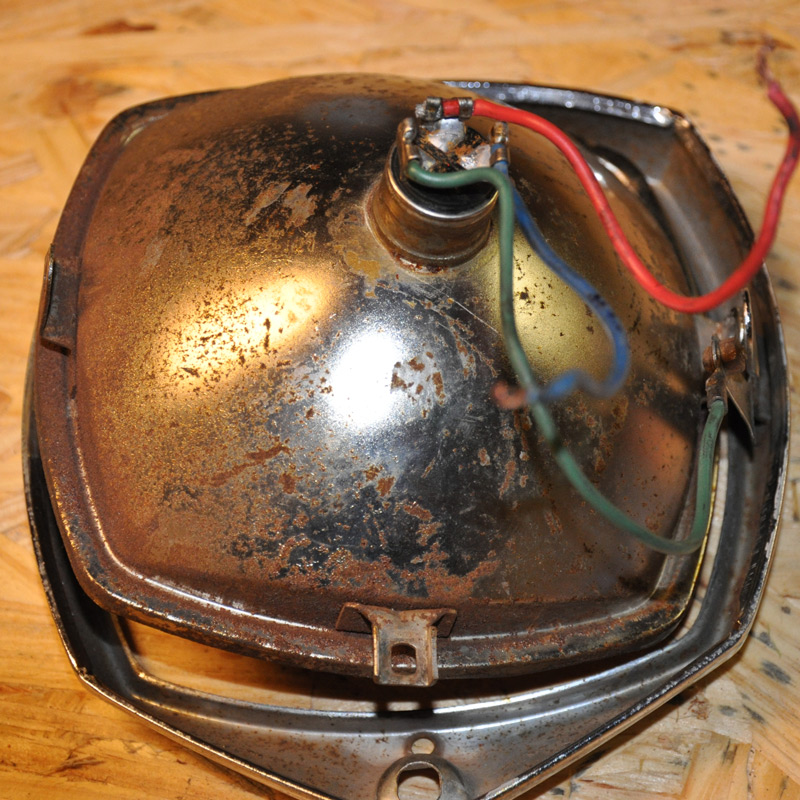
Here's what we did:
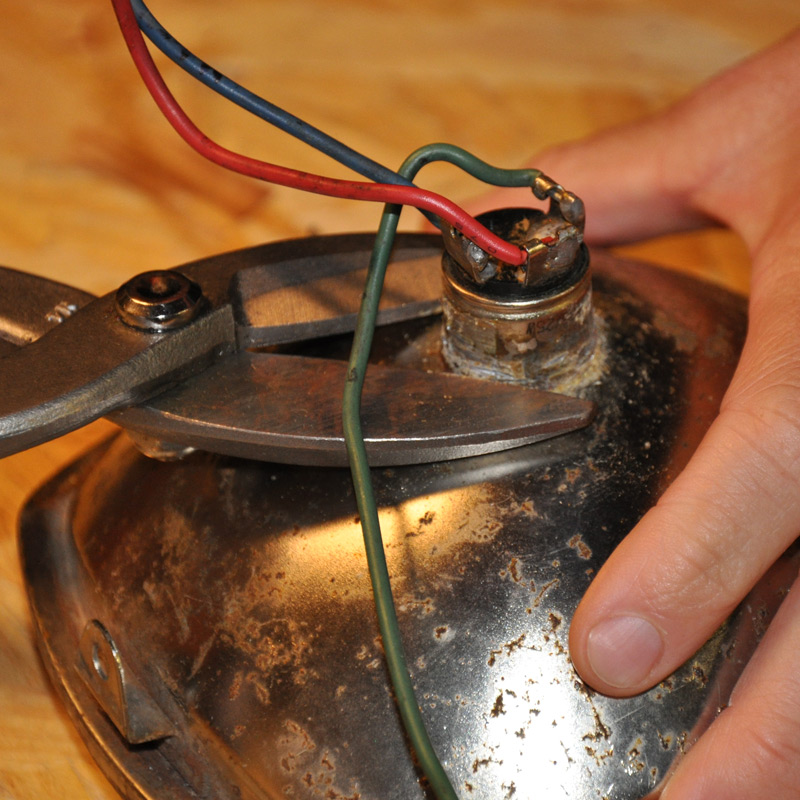
My wife used metal shears to break the old bulb free of the sealed beam housing.
Then we used channel locks to break the bulb:
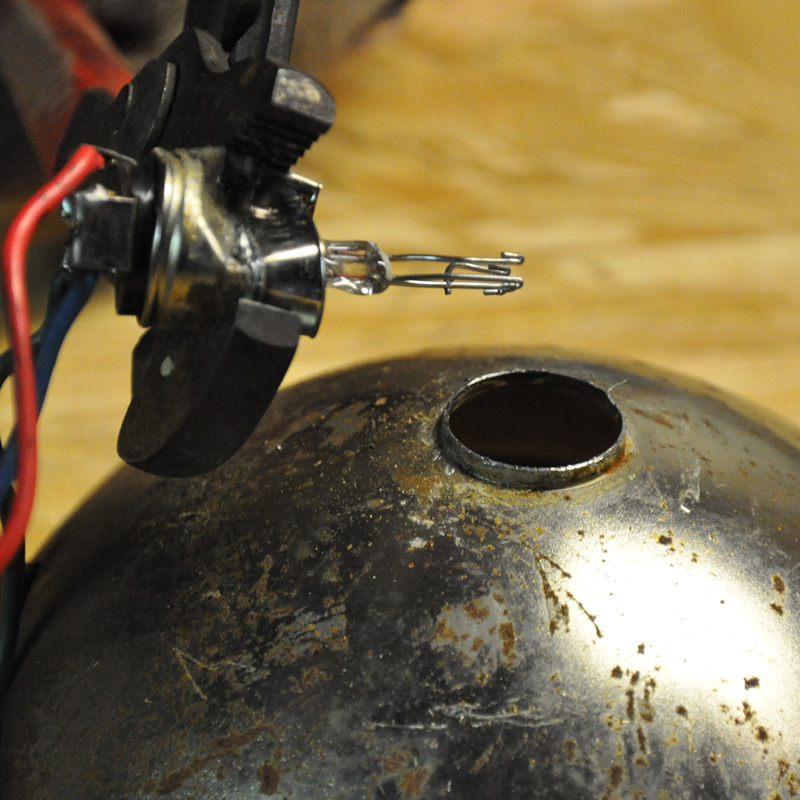
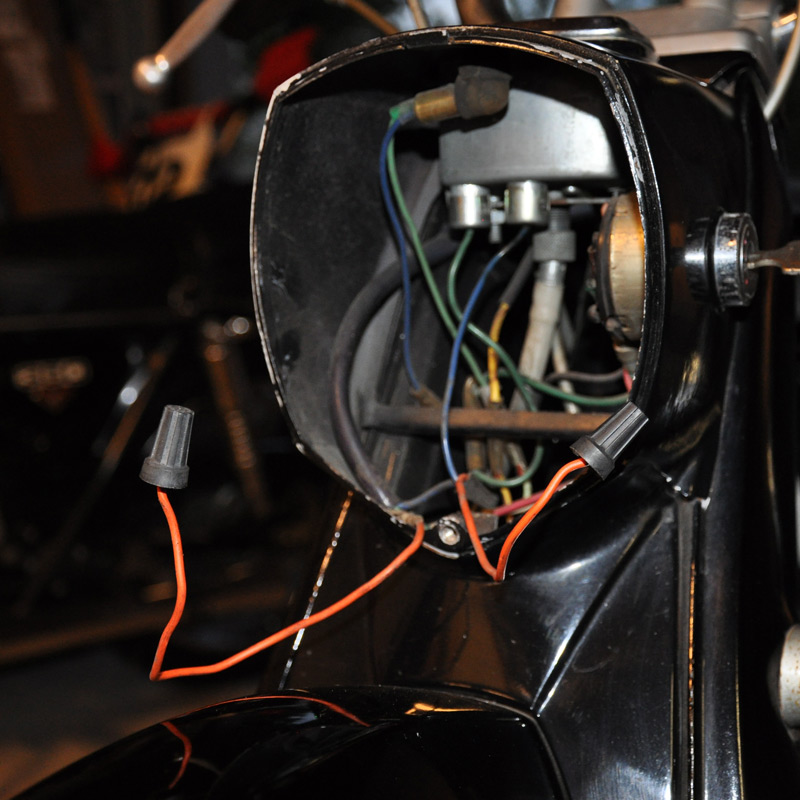
Our wiring had two red wires coming off black and blue wires:
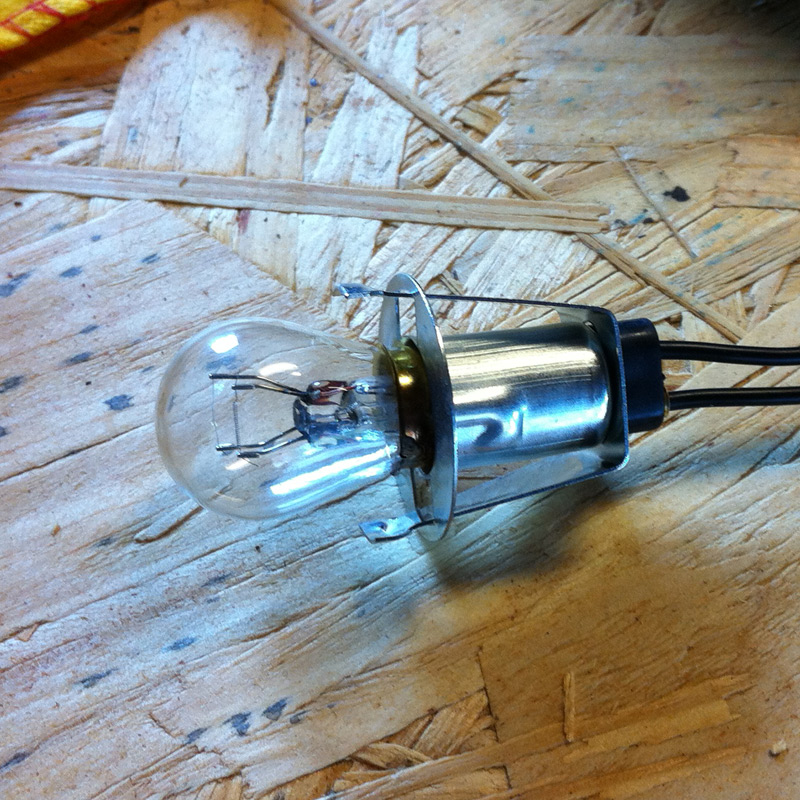
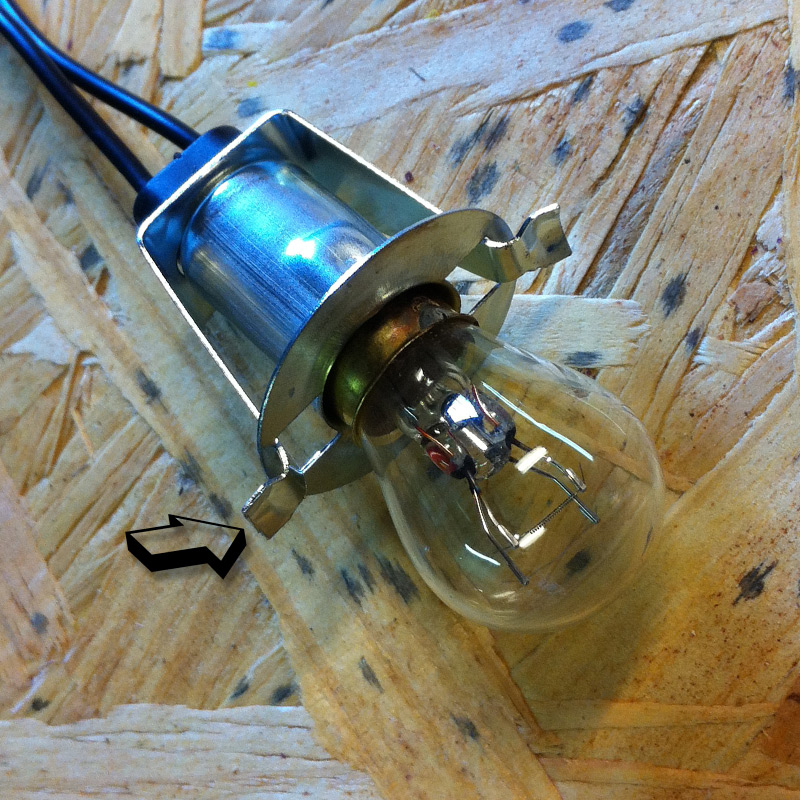
I found this 6 volt bulb and this socket at Autozone:
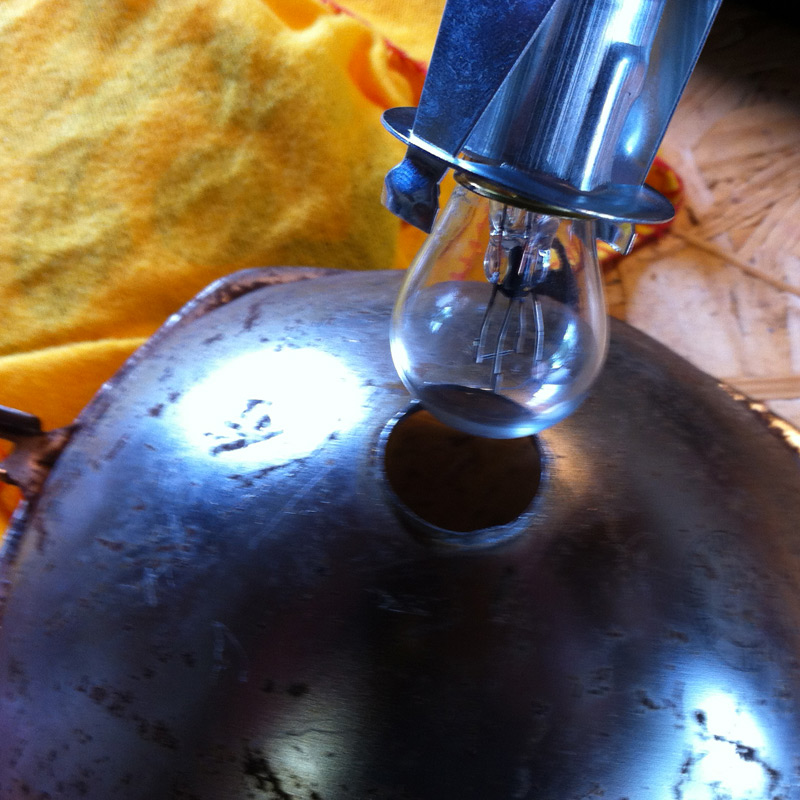
But the bulb was to bulbous to fit in the existing hole (again no jokes):
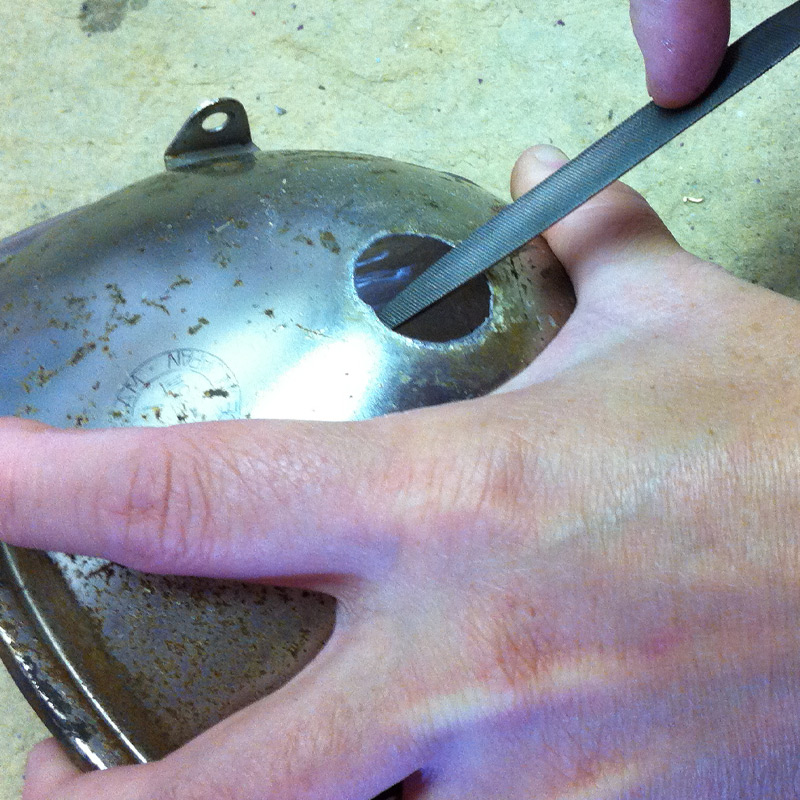
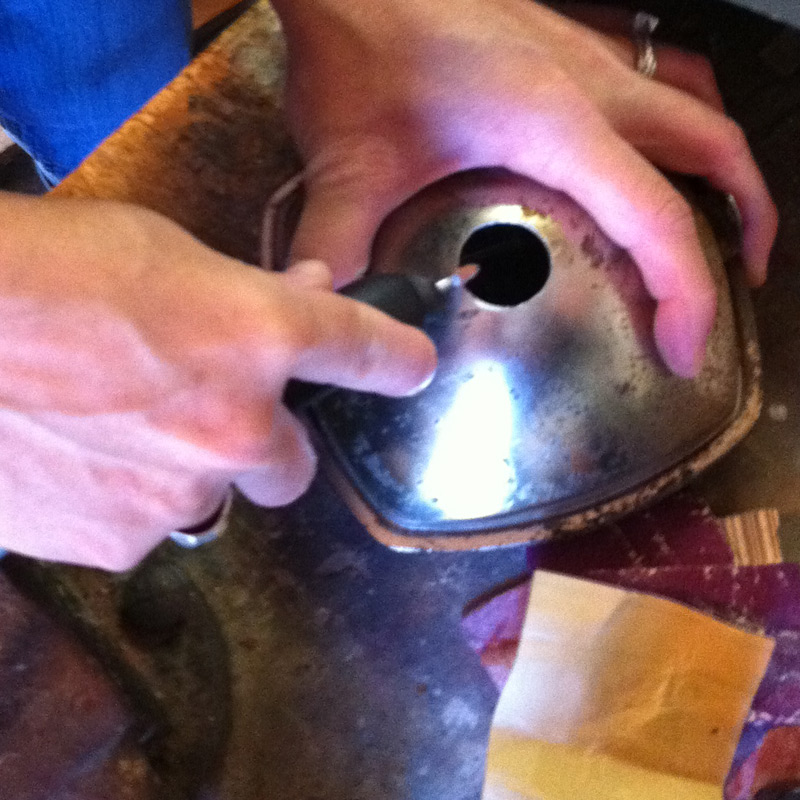
Fortunately (for me) she's a metal-smith so she was able to file and grind it out:
I bent the two tabs on the socket back so it would sit flat against the housing:
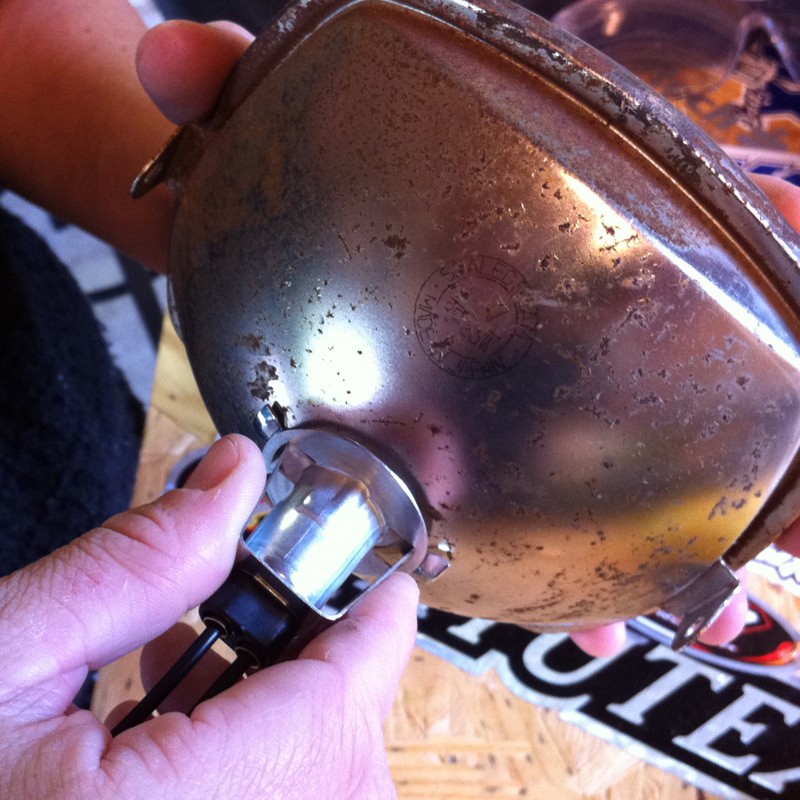
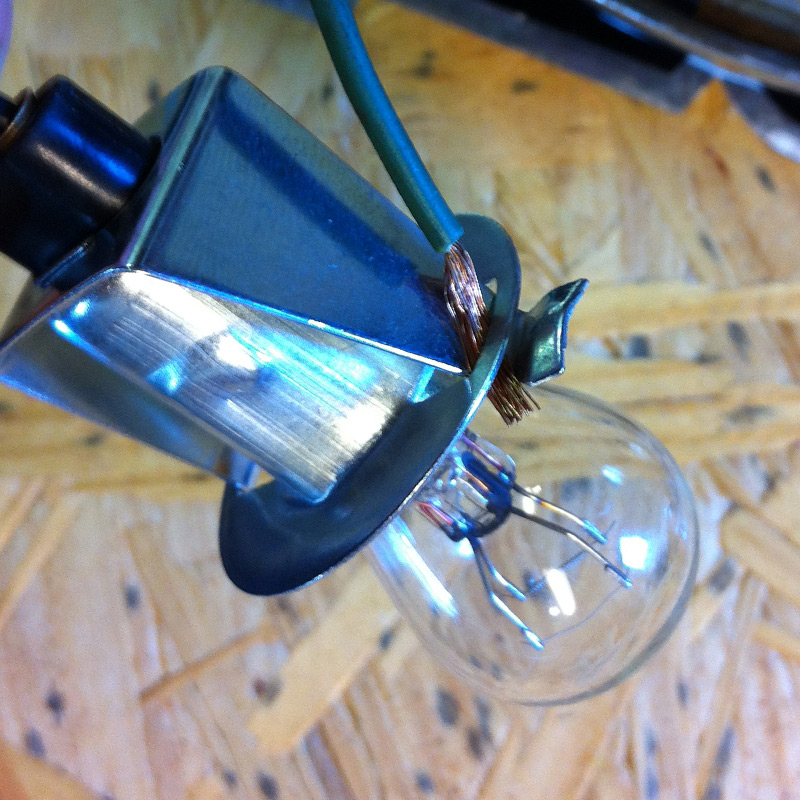
The tabs also made for a good spot to attach the ground wire:
I found a rubber ring to act as a bushing to absorb some vibrations:
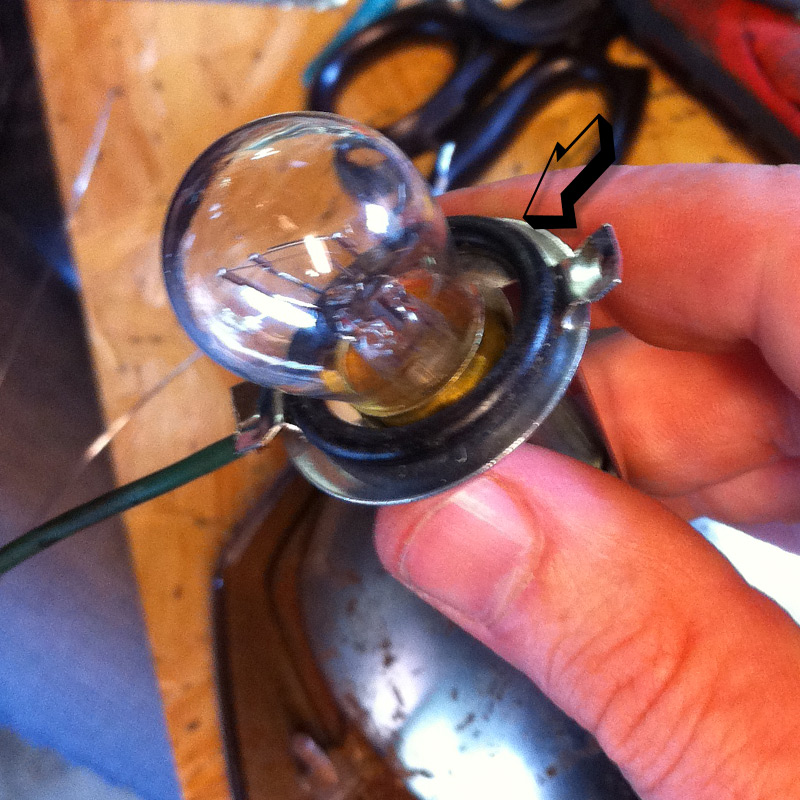
I didn't have any metal ties like Jetblackchemist used so we settled for plastic zip ties:
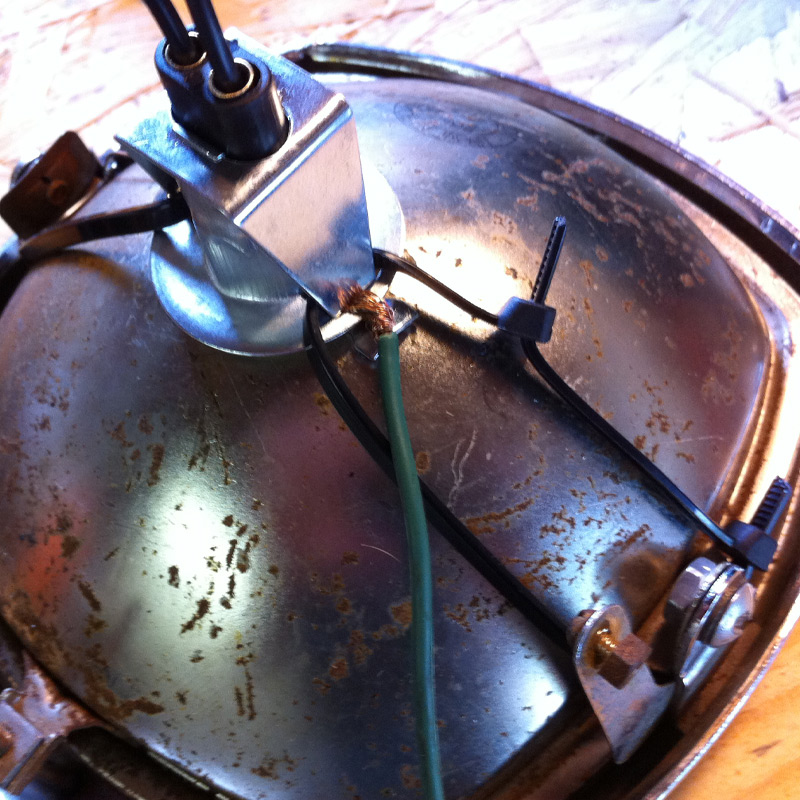
And voila! Low beam:
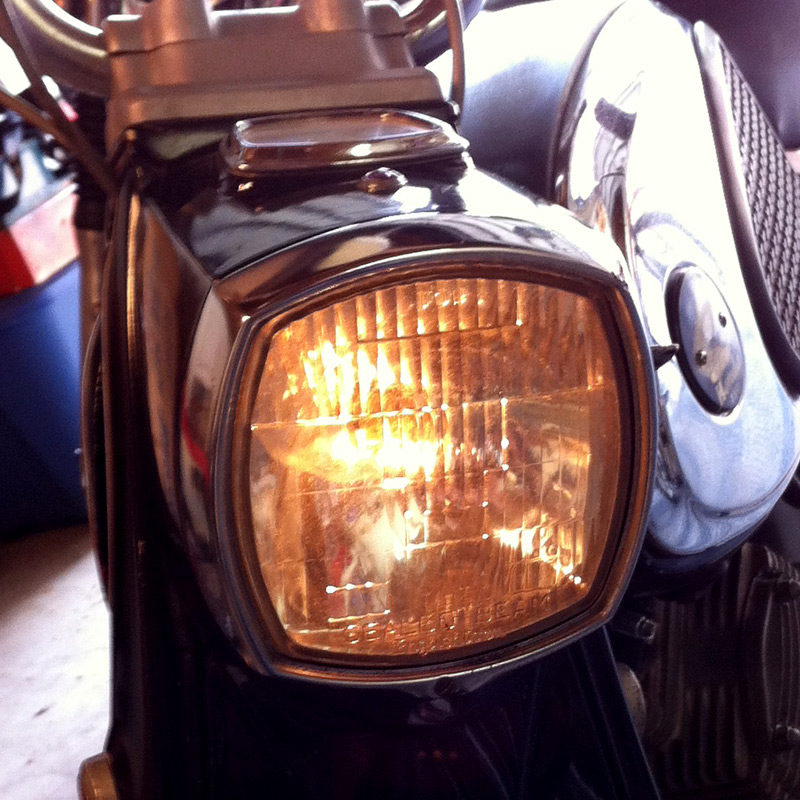
And high beam:
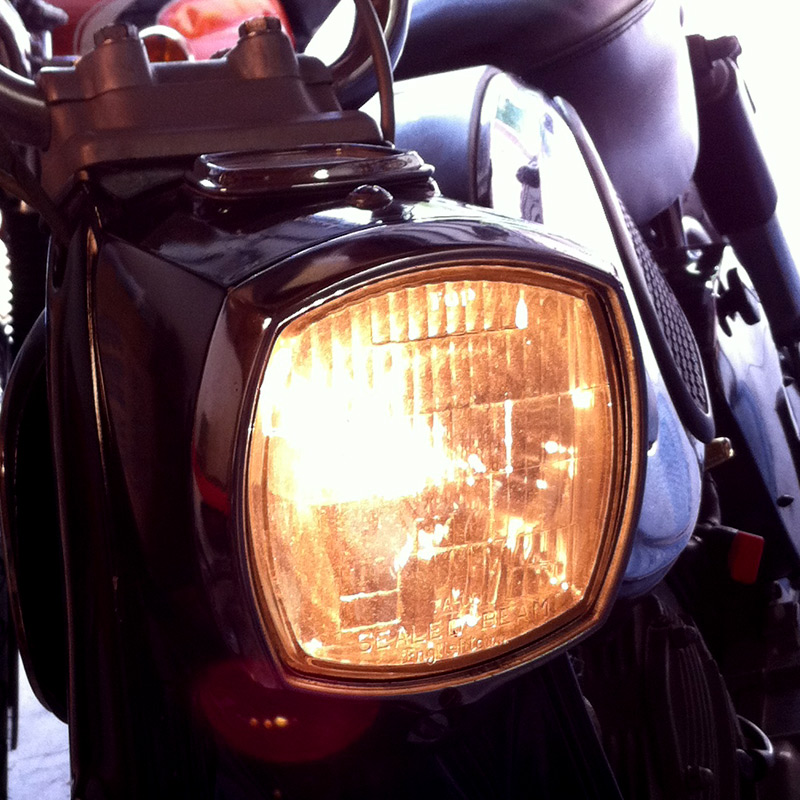
We haven't given it any long ride tests yet but it held up pretty good around the neighborhood! Hopefully it won't overheat and explode if we have it on too long. I'll keep you posted...
Here's our Benly!
Here's what we did:
My wife used metal shears to break the old bulb free of the sealed beam housing.
Then we used channel locks to break the bulb:
Our wiring had two red wires coming off black and blue wires:
I found this 6 volt bulb and this socket at Autozone:
But the bulb was to bulbous to fit in the existing hole (again no jokes):
Fortunately (for me) she's a metal-smith so she was able to file and grind it out:
I bent the two tabs on the socket back so it would sit flat against the housing:
The tabs also made for a good spot to attach the ground wire:
I found a rubber ring to act as a bushing to absorb some vibrations:
I didn't have any metal ties like Jetblackchemist used so we settled for plastic zip ties:
And voila! Low beam:
And high beam:
We haven't given it any long ride tests yet but it held up pretty good around the neighborhood! Hopefully it won't overheat and explode if we have it on too long.
I'll keep you posted...
Last edited by Martskin on Thu Jun 07, 2012 6:24 pm, edited 2 times in total.
-
Jetblackchemist
- Posts: 463
- Joined: Thu Apr 28, 2011 10:59 am