Starting a '65 CA95 Restoration
-
Jetblackchemist
- Posts: 463
- Joined: Thu Apr 28, 2011 10:59 am
-
Steverinomeiste
- Posts: 223
- Joined: Sun Apr 01, 2012 11:52 pm
I used the method described in another thread that required just one ring compressor. Spokes or Sam posted the instructions I believe.Steverinomeiste wrote:Hi Everyone: I was searching for some pics of ring compressors in action but haven't found any. The Manual show a set of them being used, but not much else. They must be tiny little things to fit between the barrel and top of the crankcase?
Steve
First, each piston's inner retaining clip is inserted. Next, each piston is compressed and slid into the TOP of the cylinder, taking care to keep the piston facing the correct direction. The pistons are inserted individually with this method, so only one small ring compressor is needed. Lower the cylinders onto the case with the pistons poking out the bottom just enough to slide in the piston pins, then insert the outer retaining clips. Obviously, don't let the pistons come out so far as to let the rings pop out of the cylinder.
-
Steverinomeiste
- Posts: 223
- Joined: Sun Apr 01, 2012 11:52 pm
Sterver ,I've rebuilt 3 of these motors and I've just used my fingers to push the rings together as I slip the cylinder down and over the piston and rings .
I did make a 1/4" plywood base ,that I slip between the pistons and the crankcase . This holds the pistons and crank in place while your working with the cylinder and piston rings . Once the cylinders over the rings , remove the piston support and finish installing the cylinder .
I did make a 1/4" plywood base ,that I slip between the pistons and the crankcase . This holds the pistons and crank in place while your working with the cylinder and piston rings . Once the cylinders over the rings , remove the piston support and finish installing the cylinder .
ByTheLake wrote:I used the method described in another thread that required just one ring compressor. Spokes or Sam posted the instructions I believe.
First, each piston's inner retaining clip is inserted. Next, each piston is compressed and slid into the TOP of the cylinder, taking care to keep the piston facing the correct direction. The pistons are inserted individually with this method, so only one small ring compressor is needed. Lower the cylinders onto the case with the pistons poking out the bottom just enough to slide in the piston pins, then insert the outer retaining clips. Obviously, don't let the pistons come out so far as to let the rings pop out of the cylinder.
BTL, I am not guilty of this malpractice.

I use a very different method to get them in and It's very easy.

First, make sure you have put the base gasket on.

Next, make sure the rings are in the correct lands and are the correct way up and the gaps are spaced evenly, then insert the inner pin clips.
Then with the block on a flat surface upside down, I insert the pistons into the bock and feed in the pins to the back edge of the bosses.
I then offer the complete assembly over the studs until the pins line up with the small end eyes of the con rods.
Push the pins through the rods and fit the outer pin clips and slide the block right over the pistons. Easy Peasy
Sam.
Painting Finished
This afternoon I picked up the parts from the painter. I'm quite pleased with the work. I went with a nice metallic black with a clear coat, so it'll shine nicely and provide a great contrast with the chrome and polished aluminum parts.
It's difficult to illustrate in pictures, but you'll get the idea. Anyway, I'll haul the parts back home this Friday and begin to reassemble the Benly this weekend.
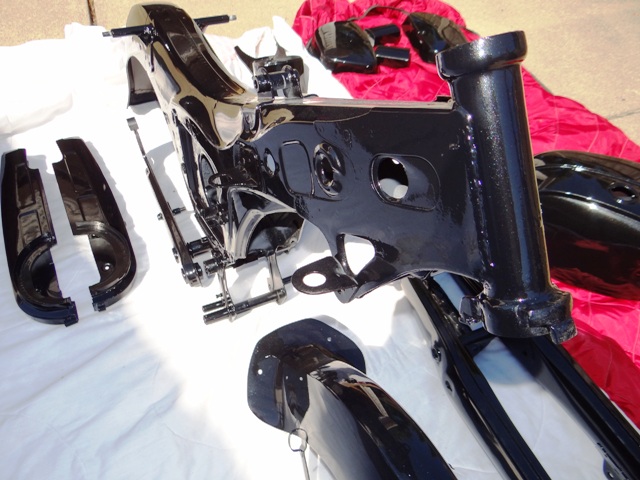
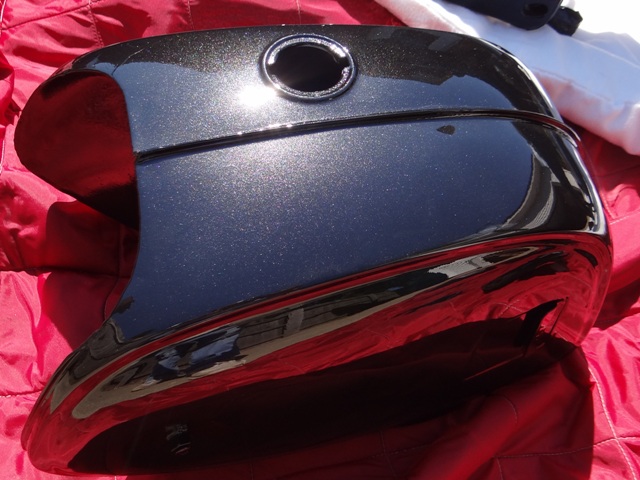
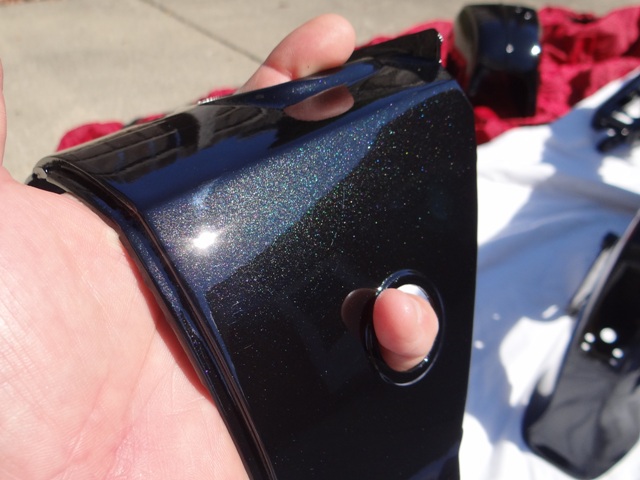
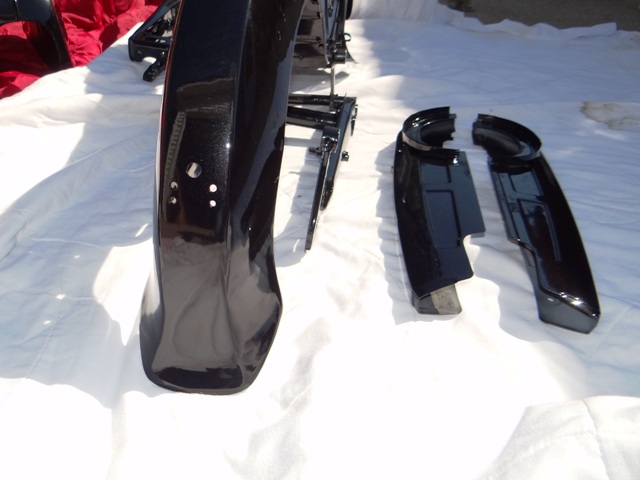
It's difficult to illustrate in pictures, but you'll get the idea. Anyway, I'll haul the parts back home this Friday and begin to reassemble the Benly this weekend.

The painter deserves the kudos. His company does vintage cars, Autorama show cars, and recently painted the Zamboni for the Detroit Red Wings. Probably more than the Benly deserved, but unless I can convince my elderly neighbor to sell me his '67 CL77, this will be the last restoration for me for a long time.
-
Larzfromarz
- Posts: 620
- Joined: Tue Dec 20, 2011 7:47 pm
Looking good BTL. In the case you haven't assembled a fresh paint job in a while i recommend a good layer of painters tape on the high spots and edges.These are always the places where something seems to jump out and catch the new paint if you know what I mean  .
.
And you are right the pics don't do the paint justice.
Awesome fun and a great job! I guess we'll see the video of BTL riding the bike Sunday night right?????
.And you are right the pics don't do the paint justice.
Awesome fun and a great job! I guess we'll see the video of BTL riding the bike Sunday night right?????
It wouldn't be one of my projects if I didn't put a big scratch in the new paint at some point.Larzfromarz wrote:Looking good BTL. In the case you haven't assembled a fresh paint job in a while i recommend a good layer of painters tape on the high spots and edges.These are always the places where something seems to jump out and catch the new paint if you know what I mean
And you are right the pics don't do the paint justice.
Awesome fun and a great job! I guess we'll see the video of BTL riding the bike Sunday night right?????
I'm doubting I'll have it all together by Sunday, especially since the white wall tires are apparently being shipped from planet Neptune and will arrive a few years from now.

After this weekend, I'll be delayed a bit, since the two weekends afterward I'll be moving my daughter to med school in Tennessee, so this Benly might not get on the road until early August, assuming the tires arrive.
-
oldschool101
- Posts: 61
- Joined: Mon Jun 25, 2012 4:01 pm
My wife says it'll be a great project if the bike actually runs when I'm done. Even after 34 years, she's a skeptic and my harshest critic ... or maybe just knows me pretty well.oldschool101 wrote:what kind of price range are paint jobs like that? Ball park? I am looking at repainting my bike this winter. GREAT Project ! awesome work!!
Being related to the paint shop guy helped with the pricing, but for the service I had done, non-relatives would pay around $850 and up, most of that being labor. The shop fixed the stuff I didn't exactly prep properly, then re-coated everything with an epoxy primer. (the spray can automotive primer didn't stick to the plastic parts very well). After the metallic paint was applied, they did 3 coats of clear. A plain ol' single stage gloss black would have cost less than half of that price.
If I'm really lucky, I'll end up with a Benly that has a market value of roughly 1/3 of what I've put into it. Aren't these projects awesome?
-
oldschool101
- Posts: 61
- Joined: Mon Jun 25, 2012 4:01 pm