Custom Transmission Crossmember

My blood sweat and tears. It will be worth it!!
Smithers
Posts: 3175
Joined: Wed Feb 11, 2004 3:58 pm

Custom Transmission Crossmember

Post by Smithers »

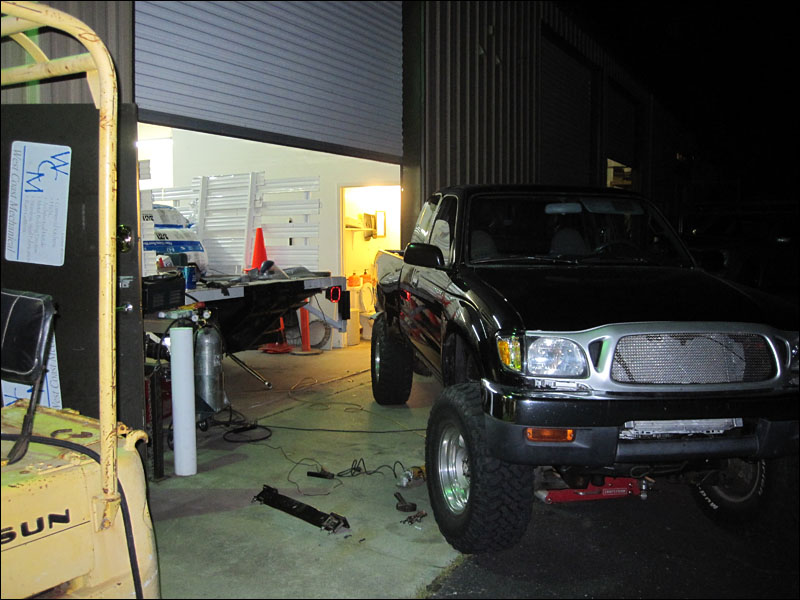
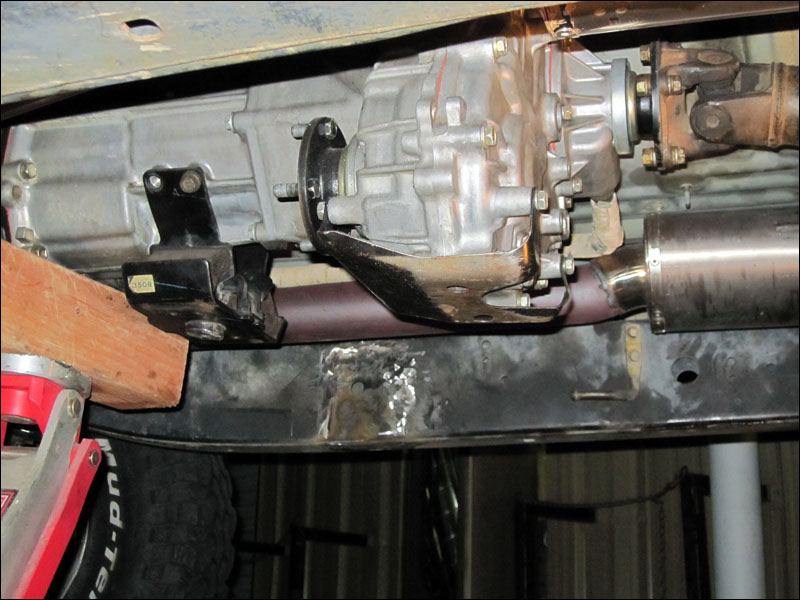
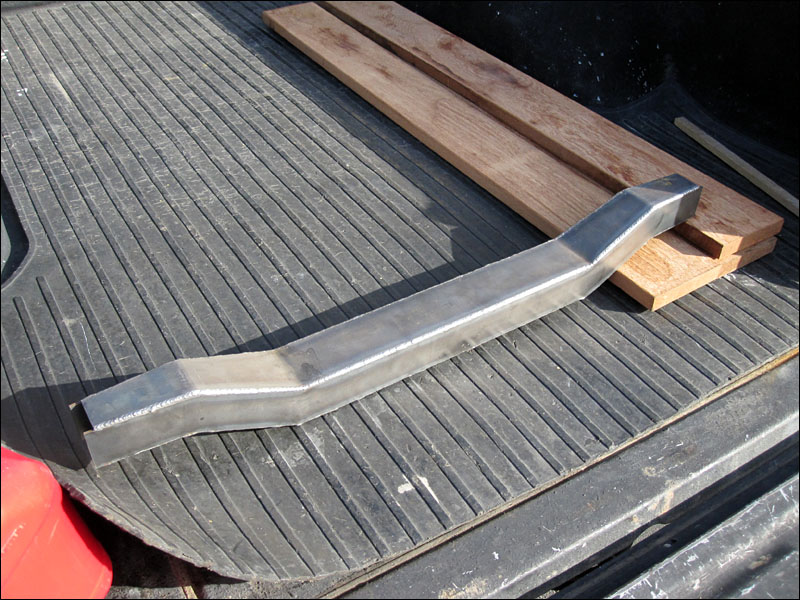
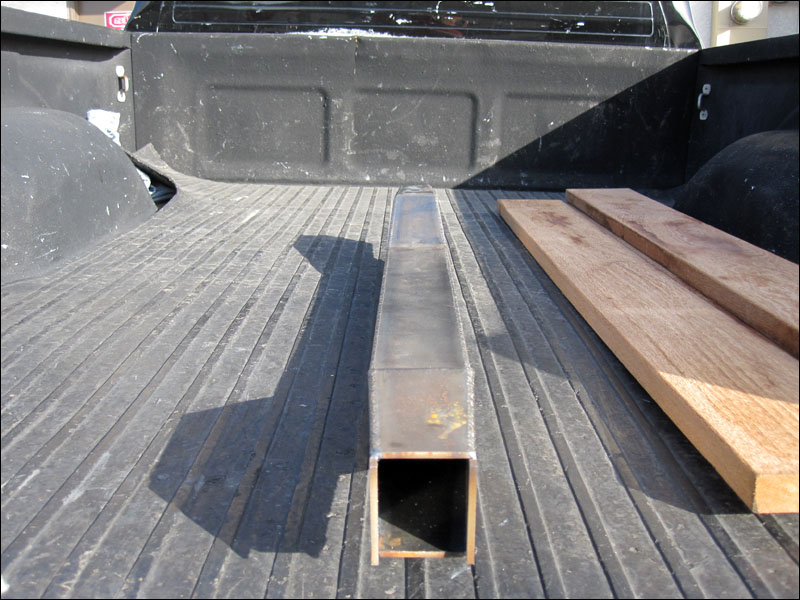
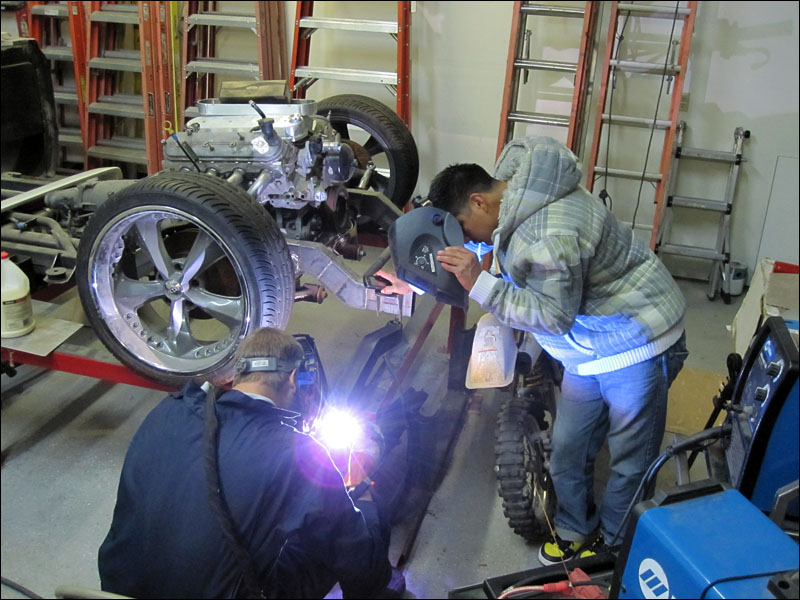
In building my truck I placed the V8 Lexus 1UZ engine in a slightly different location from where Toyota put the V6 or 4cyl engines. In doing do the transmission was then moved as well. I made some steel plates to mount the transmission crossmember temporarily and in the last week me and my friend Josh were able to make the custom crossmember from some cold rolled steel plate finally. It's much stronger and obviously allows me to properly mount my transmission. Just thought I would share the process.

Image
Smithers
Posts: 3175
Joined: Wed Feb 11, 2004 3:58 pm

Post by Smithers »

Step 1: Remove crossmember and toss it aside. :)

Image
Smithers
Posts: 3175
Joined: Wed Feb 11, 2004 3:58 pm

Post by Smithers »

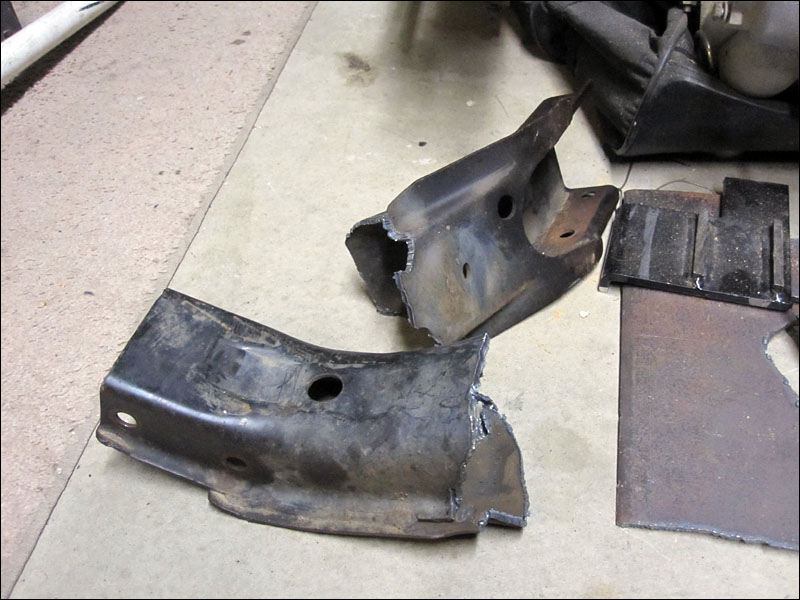
Step 2: Cut off mounting brackets from the inner frame with plasma cutter, grinders with cutting wheels and then grinding then flap discs.

Image

Image
Smithers
Posts: 3175
Joined: Wed Feb 11, 2004 3:58 pm

Post by Smithers »

Now that the frame is prepped for new crossmember installation we gotta weld the crossmember together.

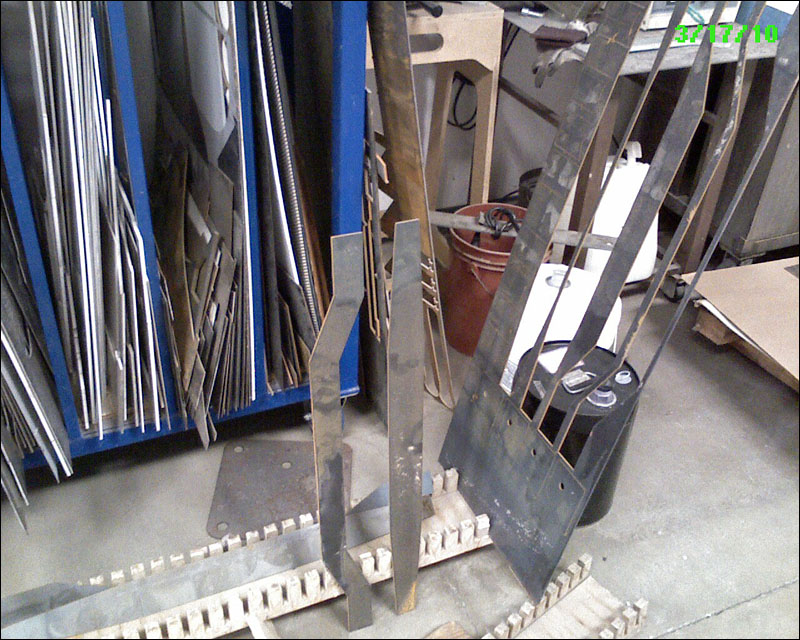
Steel plate fresh from the waterjet. Gotta love CAD!
Image

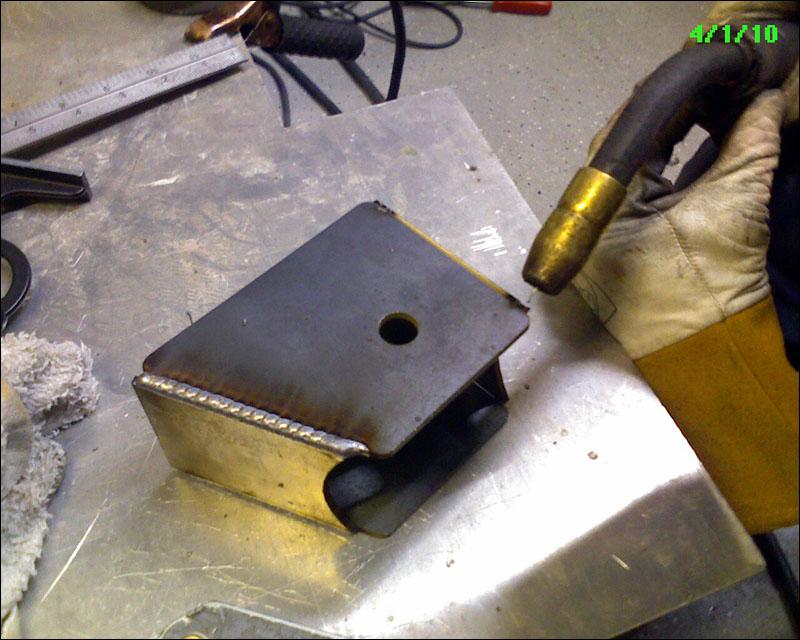
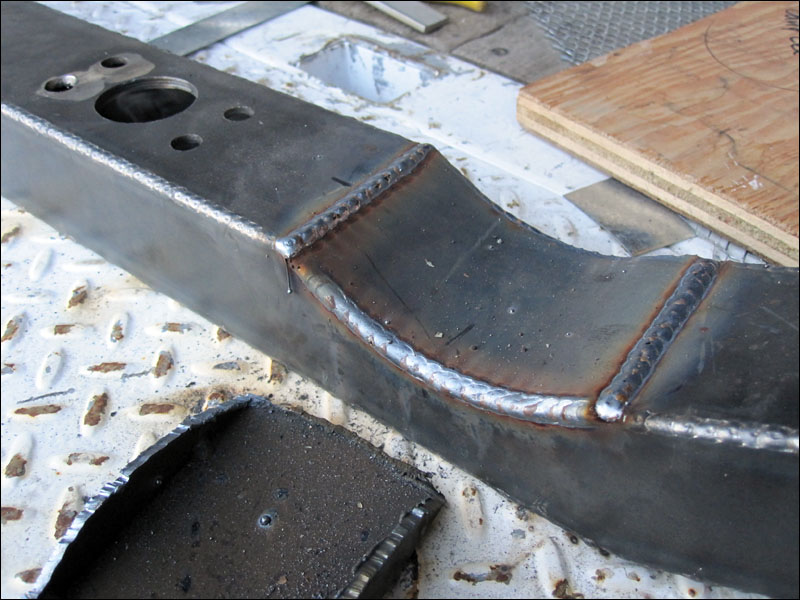
Weld it all together and we're good to go.
Image

Image
Smithers
Posts: 3175
Joined: Wed Feb 11, 2004 3:58 pm

Post by Smithers »

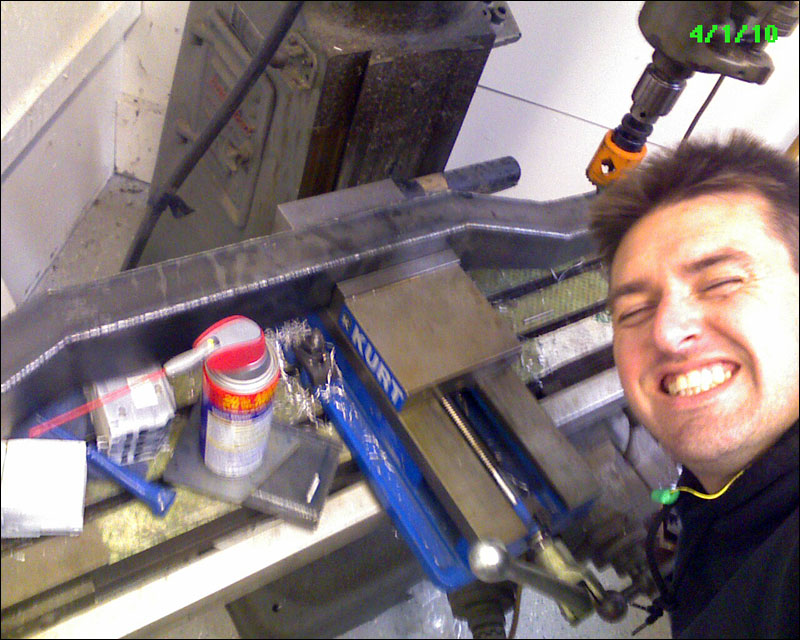
Now for a little of this and a little of that. Steel work is a lot of fun. I can't wait to put a roll cage in my truck!

Image

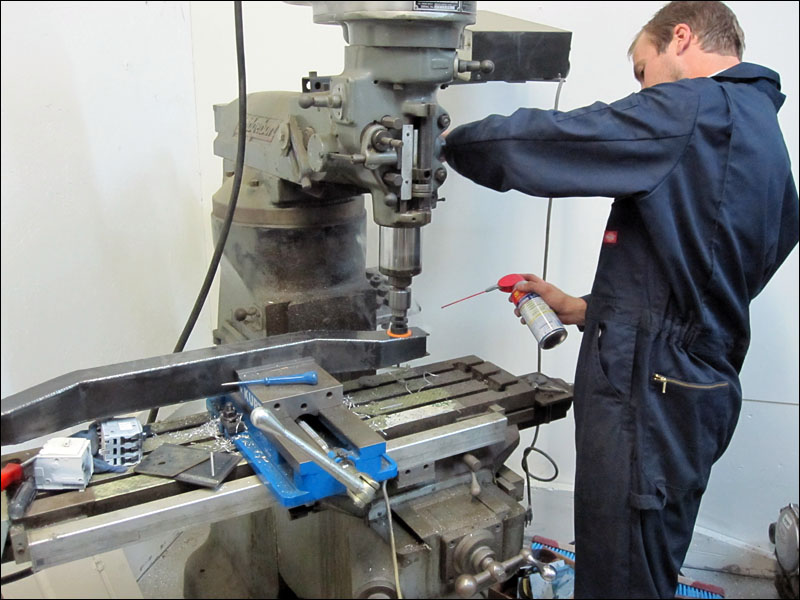
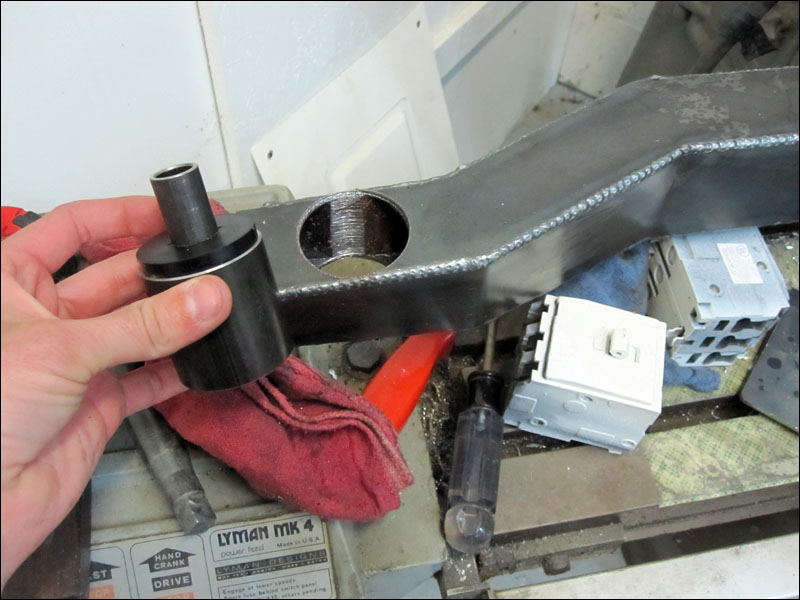
Sizing the holes for the new poly bushings:
Image
Smithers
Posts: 3175
Joined: Wed Feb 11, 2004 3:58 pm

Post by Smithers »

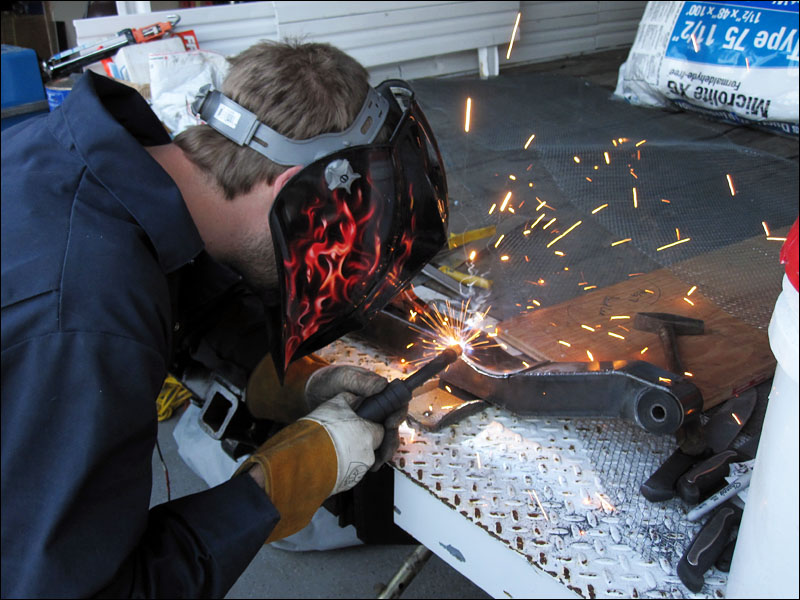
My buddy Josh making the magic happen. I couldn't wrestle the TIG away from him if I tried. :D

Image

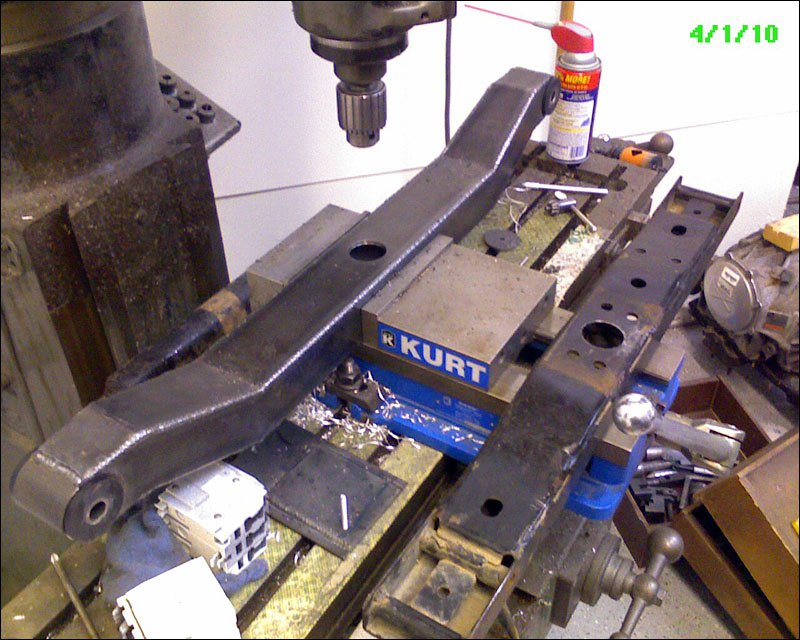
Now time for some holes. Both the old and new cross members for comparison:
Image
Smithers
Posts: 3175
Joined: Wed Feb 11, 2004 3:58 pm

Post by Smithers »

And welding together the mounts that then will be welded to the frame.
Image

Looking good. The adrenaline is pumping as the time is reaching midnight.
Image
Smithers
Posts: 3175
Joined: Wed Feb 11, 2004 3:58 pm

Post by Smithers »

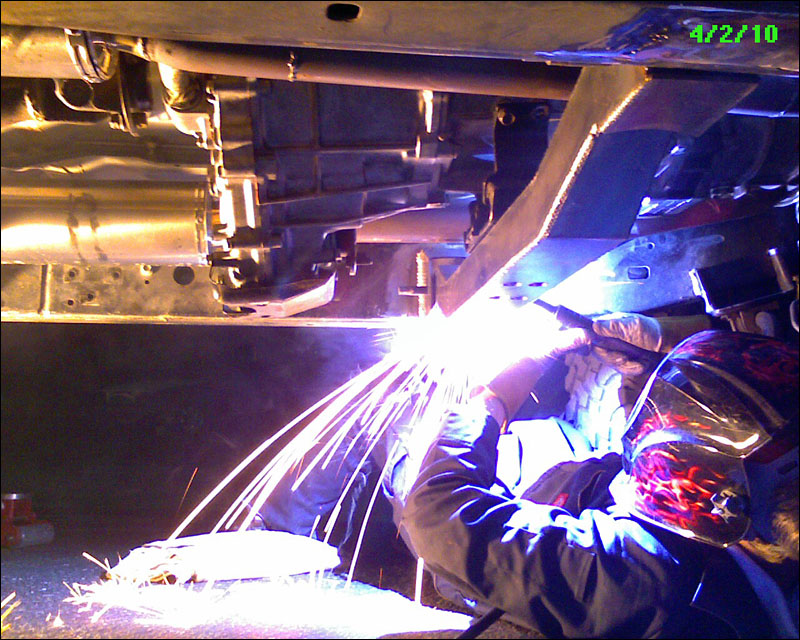
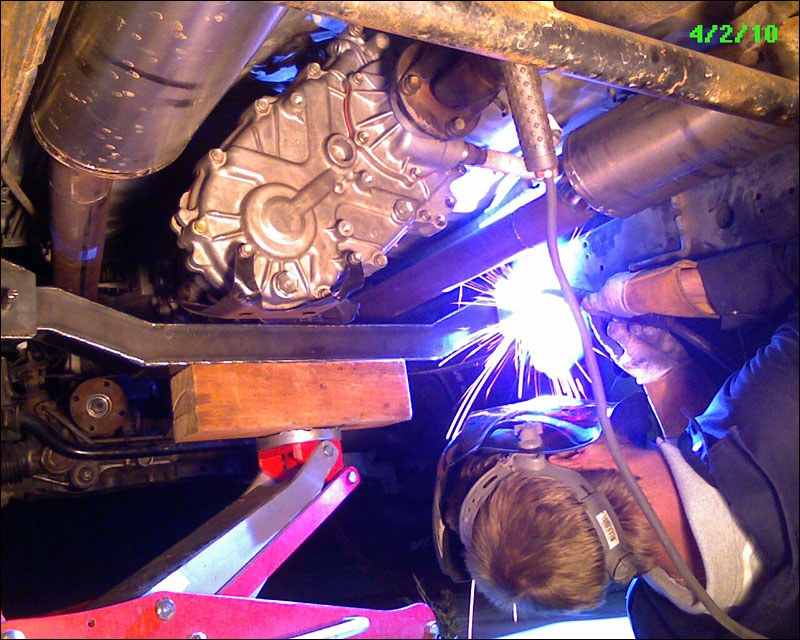
4/2/2010 Now it's just past midnight and now we're getting somewhere. Welding the mounts onto the frame after a few minutes of measuring.

Image

Image
Smithers
Posts: 3175
Joined: Wed Feb 11, 2004 3:58 pm

Post by Smithers »

So that all went pretty smooth. Now for kicks here is a comparison of the before and after. :D

With the hurtin steel plate type brackets I made to get the truck rolling... gotta do what you gotta do!

Image

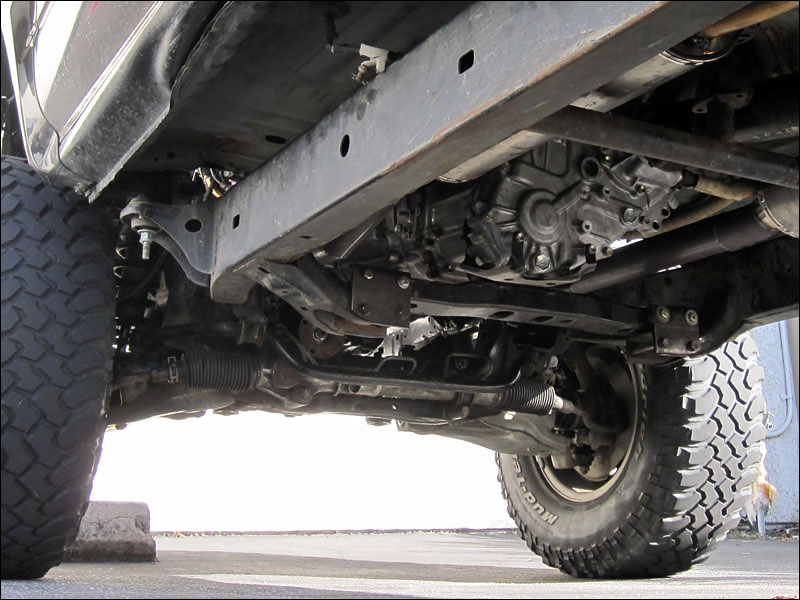
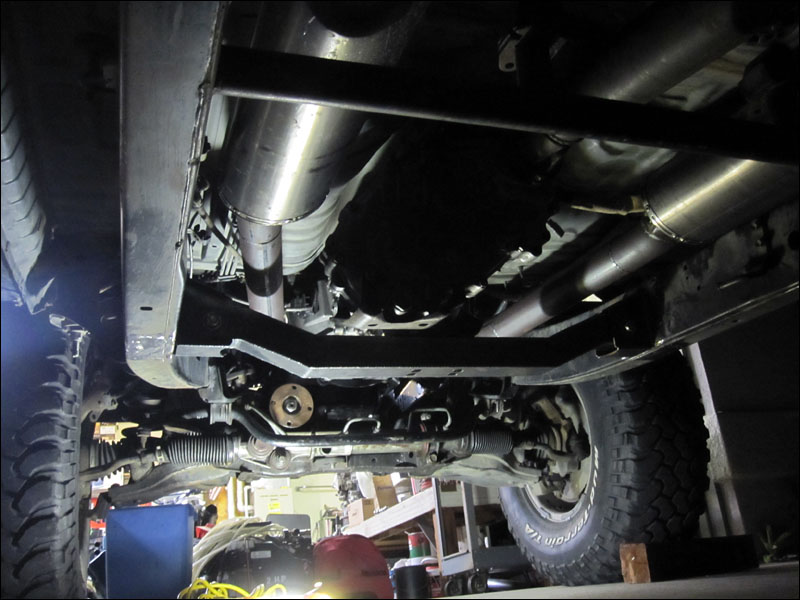
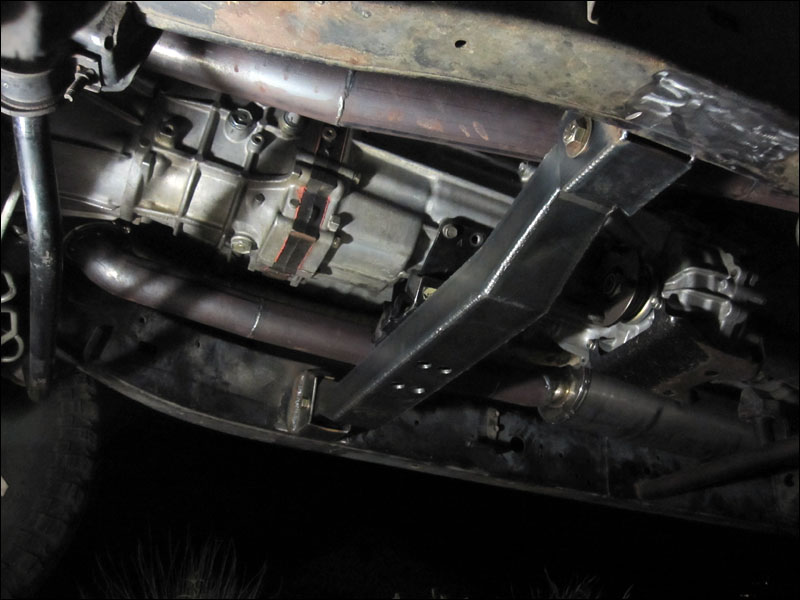
And the finished product! Very happy to have this done.
Image
Smithers
Posts: 3175
Joined: Wed Feb 11, 2004 3:58 pm

Post by Smithers »

Ahhh much better.

Image

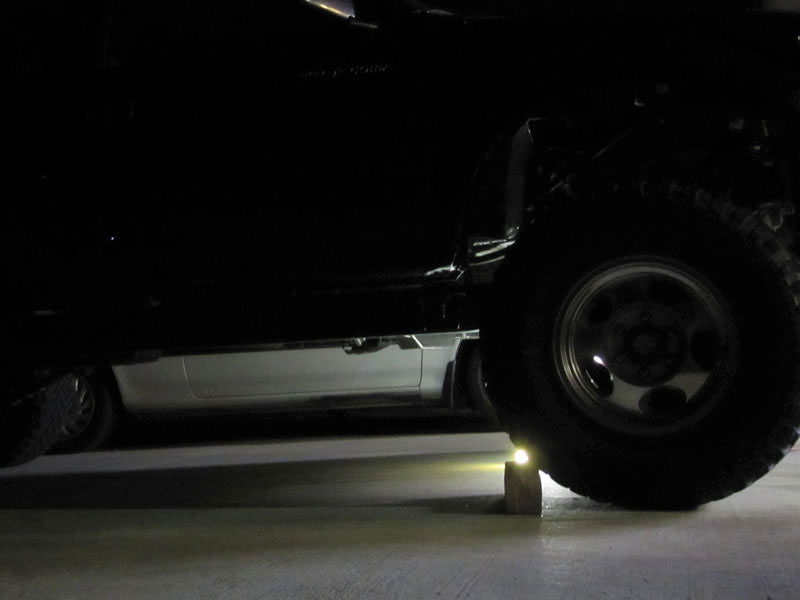
And the BEST part: The transfer case and new crossmember don't hang down below the frame so much anymore.

Image
Smithers
Posts: 3175
Joined: Wed Feb 11, 2004 3:58 pm

Post by Smithers »

Now for some finish work and it will be rust free forever. I'll be getting the main part powdercoated and then just Hammerite paint the brackets off the frame. All in good time.
jdmhn8
Posts: 13
Joined: Tue Feb 09, 2010 12:29 am

Post by jdmhn8 »

Holy shit this is awesome. Looks great!

You really need to put together a mount kit for this swap to sell! The next HASPORT!
Smithers
Posts: 3175
Joined: Wed Feb 11, 2004 3:58 pm

Post by Smithers »

$$$$$ Crap I don't think people would want to pay for how much this actually costs to produce. $$$$$ Here are a couple of action videos of the welding magic :D
MIG Action:
TIG Action:
boy_uz
Posts: 18
Joined: Tue Apr 20, 2010 7:47 am

Post by boy_uz »

A really hard / very well respected.
Form Thailand Noon....UZ !!!!! :D .... :cool:
Smithers
Posts: 3175
Joined: Wed Feb 11, 2004 3:58 pm

Post by Smithers »

It's a lot of fun and just takes time. I'm glad I don't do this for a living. :D

Image

Had to cut out a section for front driveshaft clearance to connect the 4wd once again.


Image

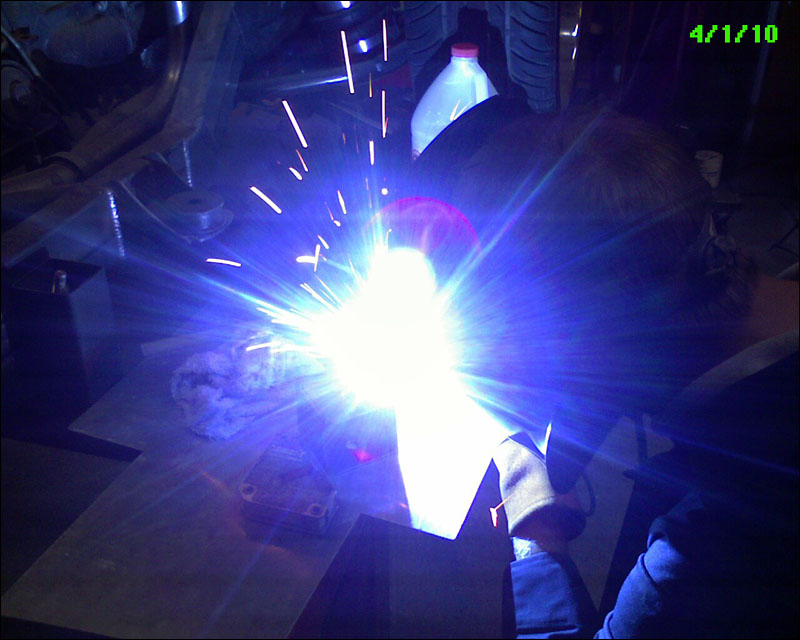
And here is he action shot of Josh putting in work with the welder:
Post Reply