Putting all of these parts together requires a lot of parts at one time. Don't tighten down any one part until your almost done. You should then go back and tighten things. First put the starter sprocket (with the new seal) on the crankshaft and then the chain.
Don't forget the sprocket retaining bracket which is fastened on with a screw near the front of the sprocket. It's a tricky one to remember and can easily be lost in your workspace.
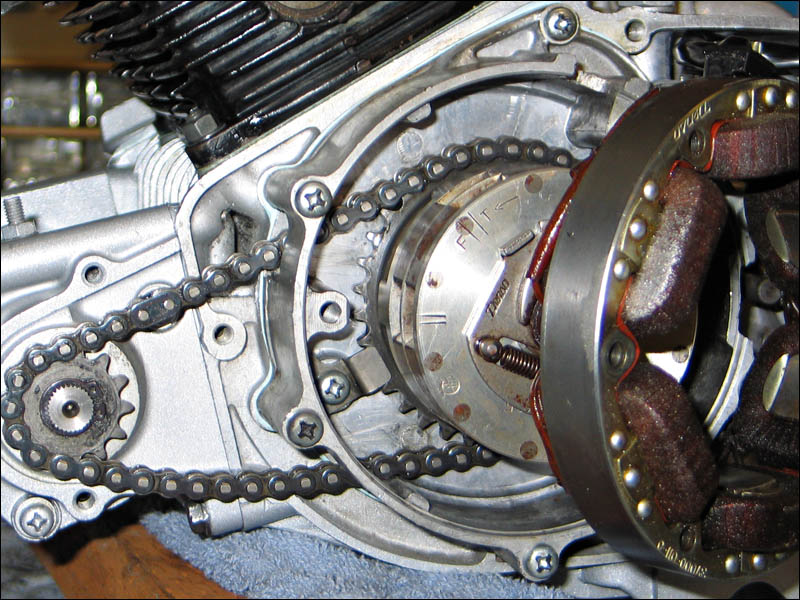
Next double check the starter clutch, rollers and springs as you slowly place the magneto on the crank. Here is a pic of a Benly 150 magneto/starter clutch compared to a CB72 magneto/starter assembly. The Honda CB72 magneto is larger and shows the indexing holes in different locations. The CA95 unit is on the left side of the engine and the CB72 starter clutch and magneto is located on the right side.
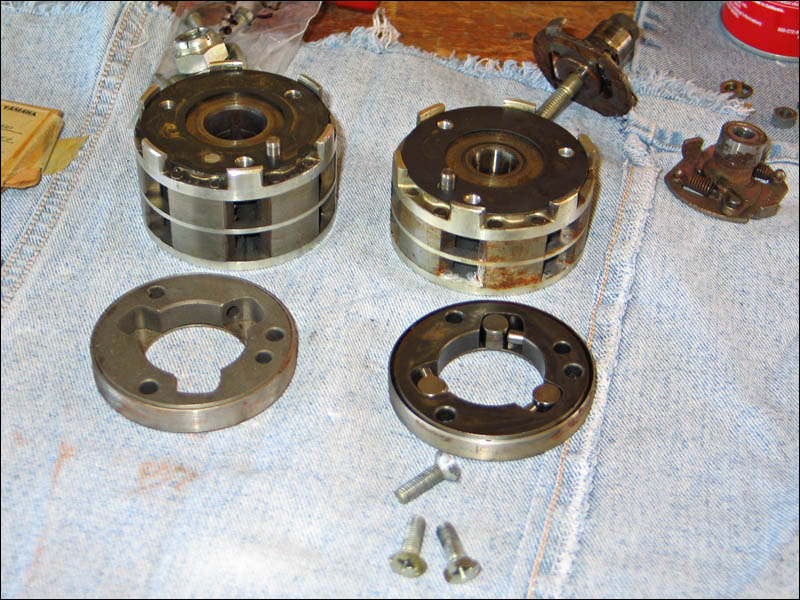
The key Mr. Honda engineered to align the magneto is a horrible design. Being crescent shaped it is not easy to slide the magneto on at all. Once on, place the pickup ring around the Benly magneto and carefully route the wires at the same time. On most every old Honda motorcycle it is easy to remove the magneto by just removing the side case cover (3 screws and it's accessible). But to re-install the magneto you must remove the entire engine case cover and magneto pickup ring (many more screws). Why would you want to remove the magneto anyways? Haha! The starter clutch my friends! Yep that starter clutch is prone to breaking when you use the electric start. The springs can dry up and break, the rollers can wear down and the starter clutch ring can fracture causing the unit to be useless.
Back on the current subject, sprocket, starter clutch, magneto, coil ring, carefully place fragile wires where they need to go. After assembling this all go back and then finally tighten the screws down and the bolt on the end of the crank. After all this you are then ready to put on the engine cover and adjust the points.