FourWheelForum  

Go Back   FourWheelForum > Motorcycles & Streetbikes! > Ducati 250 Sebring / Mach I Restoration

Ducati 250 Sebring / Mach I Restoration A COMPLETE Restoration For A Worthy Piece of Ducati History

Reply
Thread Tools
  #1  
Unread 02-09-2009, 01:10 AM
Smithers's Avatar
Smithers Smithers is offline
Admin
 
Join Date: Feb 2004
Location: San Luis Obispo, CA
Posts: 3,238
Send a message via AIM to Smithers Send a message via Skype™ to Smithers
Default Ducati 250cc Engine Dissasembly & Side Covers

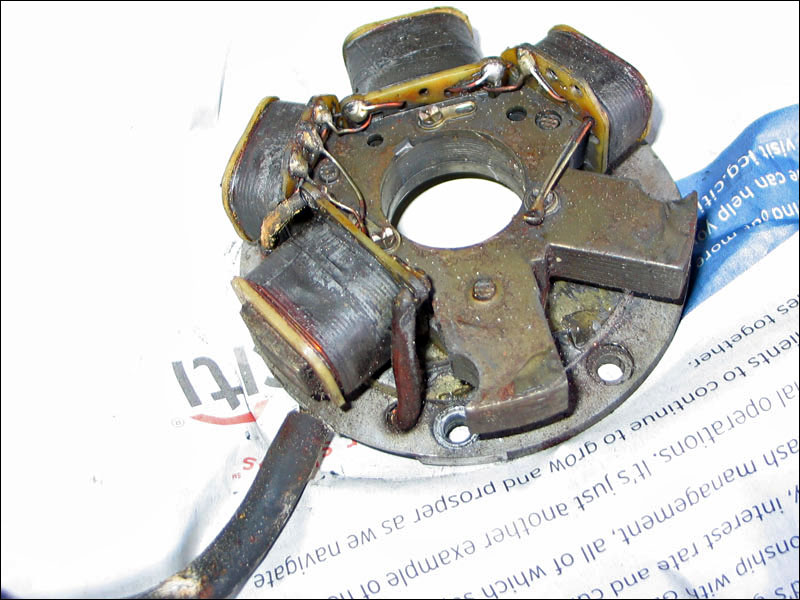
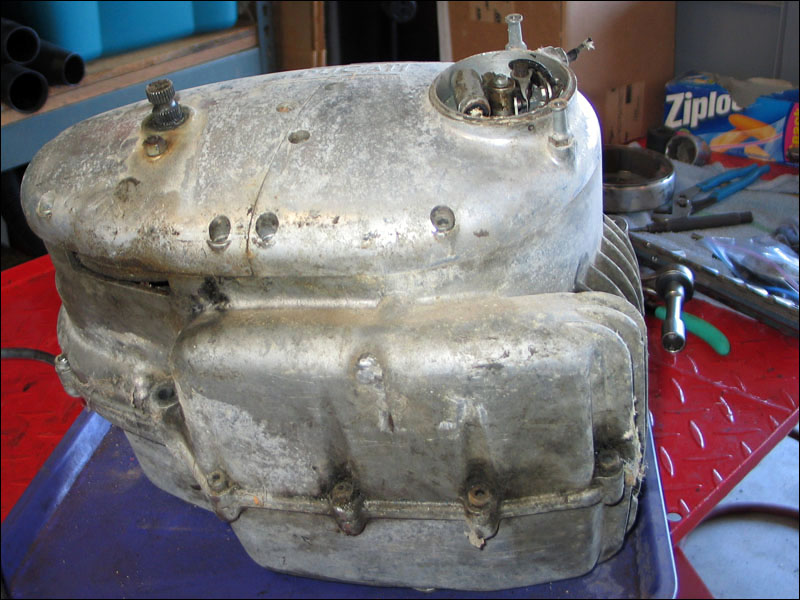
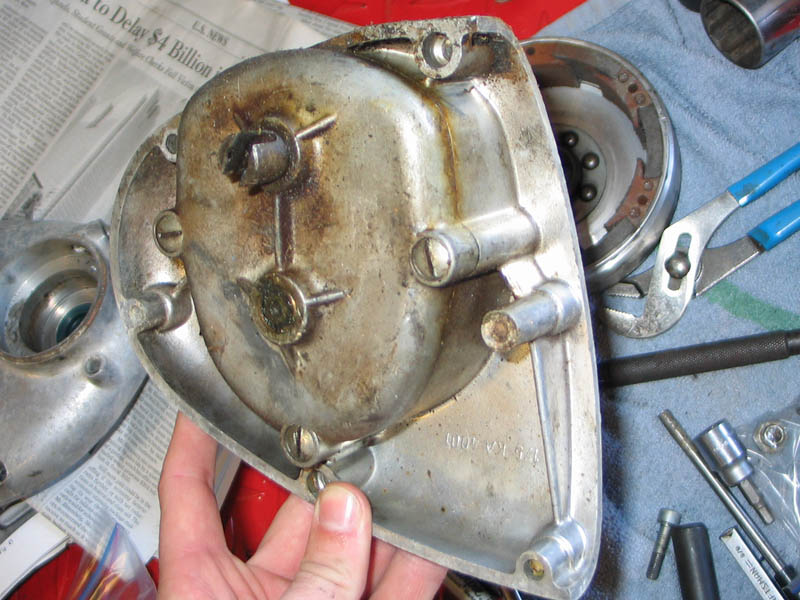
To jump right into this engine restoration we start off with removing the engine side covers and internals. It's always tricky removing the bolts and fasteners with minimal surface damage to them.

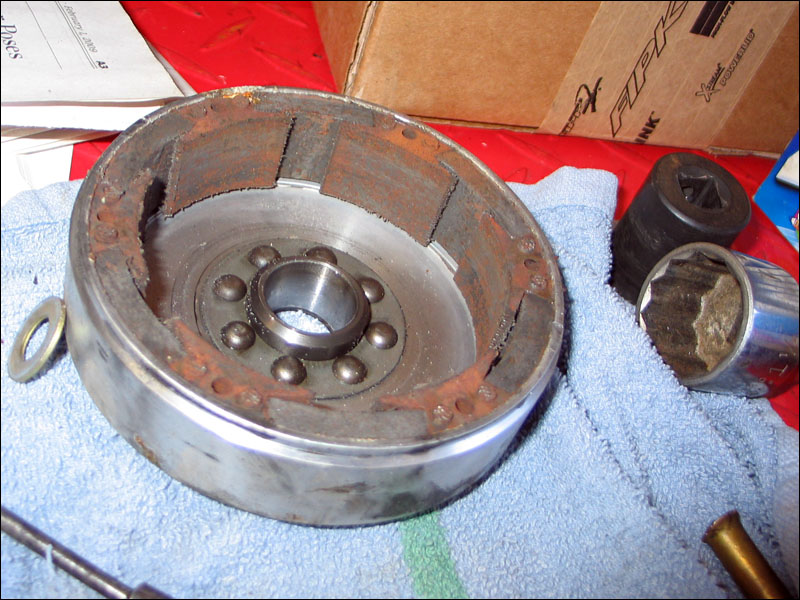
Ok with the left flywheel side cover removed it's time to prepare for a fight with the flywheel its self.


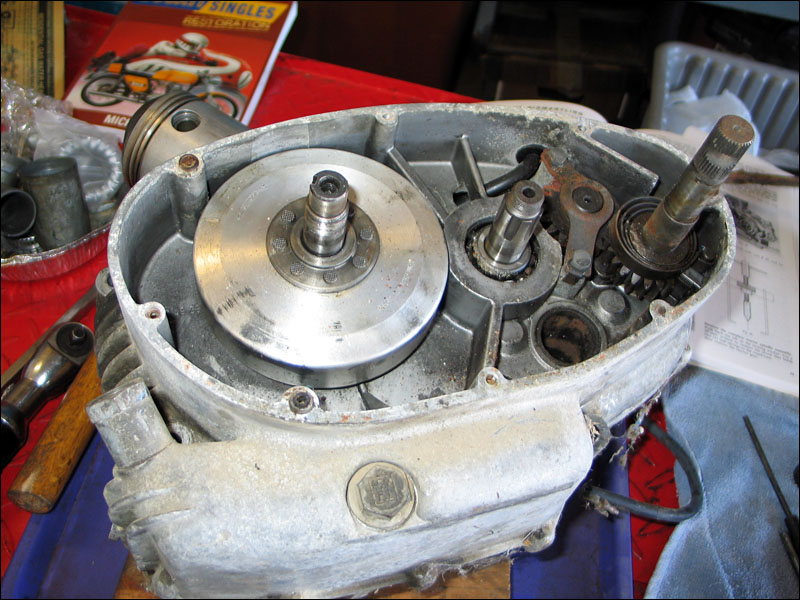
We took the engine locally to a friends shop to use their Matco puller set. It was a very high quality kit and we were very happy that it was able to apply maximum grip on the back side of the flywheel while we really slammed hard on the puller with a big heavy hammer. When it finally popped it did so with a huge bang and the flywheel and pulled jumped in the air about 10 inches.
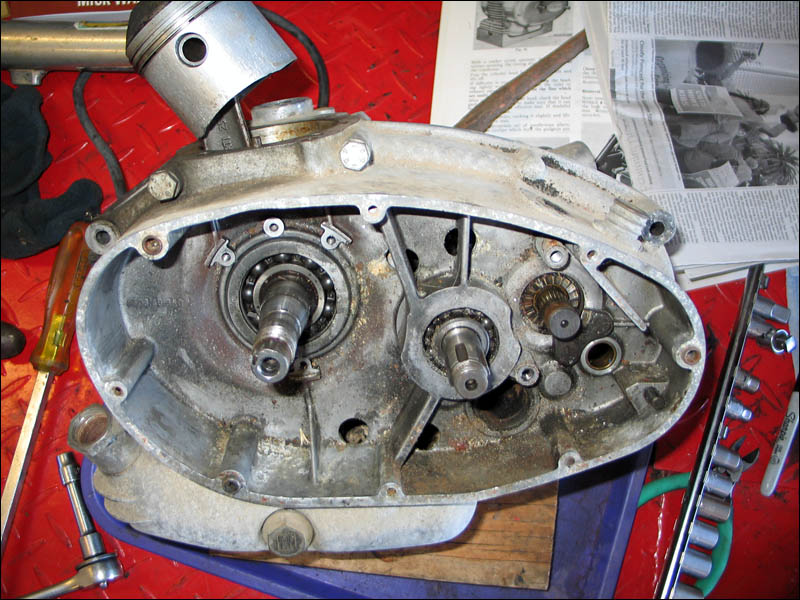
Reply With Quote
  #2  
Unread 02-09-2009, 01:11 AM
Smithers's Avatar
Smithers Smithers is offline
Admin
 
Join Date: Feb 2004
Location: San Luis Obispo, CA
Posts: 3,238
Send a message via AIM to Smithers Send a message via Skype™ to Smithers
Default

The stator assembly looking like it's in good shape.


Minimal corrosion, looking good.
Reply With Quote
  #3  
Unread 02-09-2009, 01:16 AM
Smithers's Avatar
Smithers Smithers is offline
Admin
 
Join Date: Feb 2004
Location: San Luis Obispo, CA
Posts: 3,238
Send a message via AIM to Smithers Send a message via Skype™ to Smithers
Default

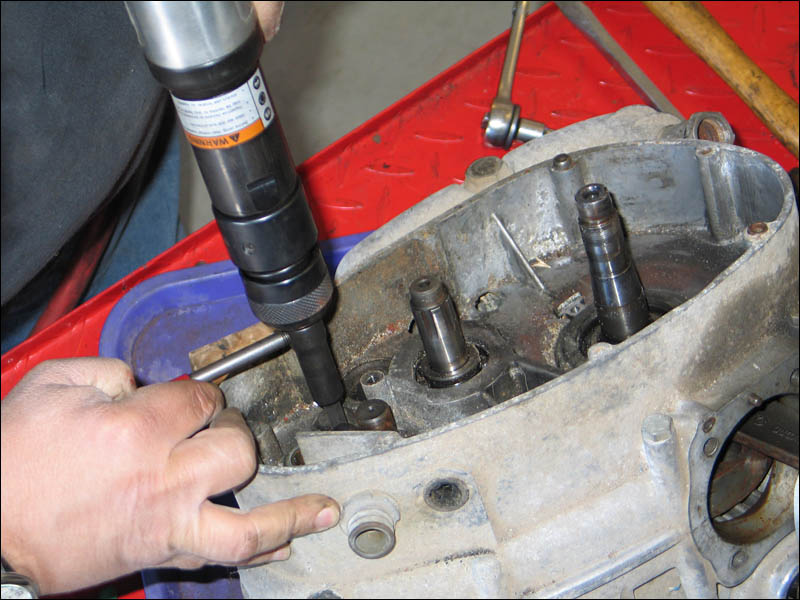
Flipping the engine over on the other side we are about to deal with the kick starter assembly and oil pump cover. What a beautiful engine casting. The round lines really add some character to the lines.


A good idea to have a split piece engine cover. I'm sure both were prone to damage and only having to replace one half is a good thing.


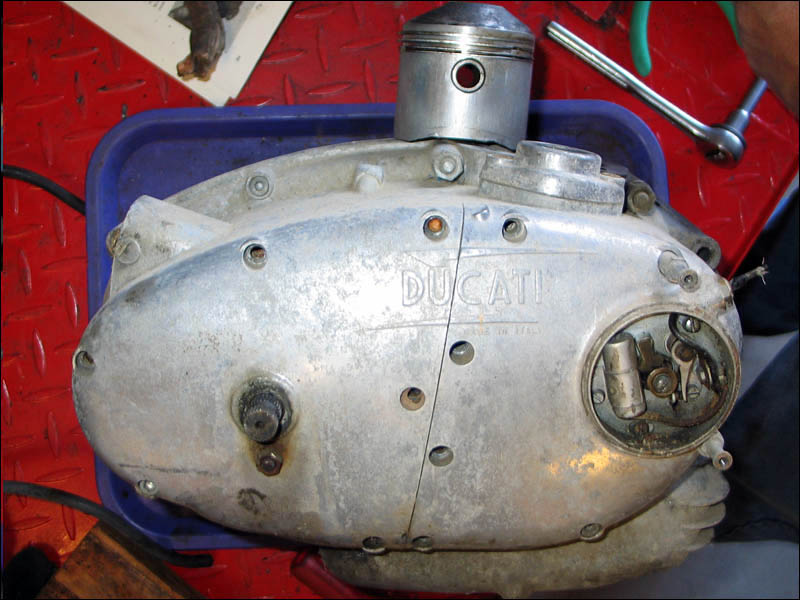
Both were removed without a problem and are begging to be polished out.
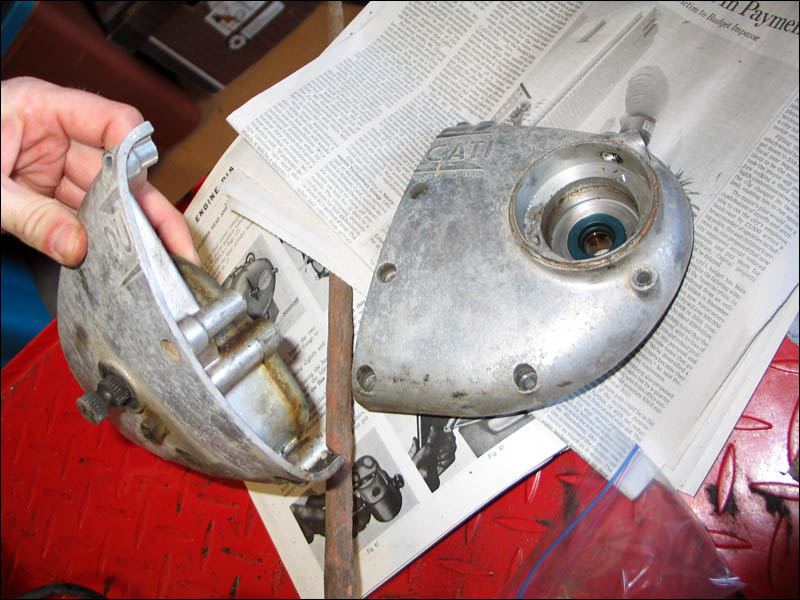
Reply With Quote
  #4  
Unread 02-09-2009, 01:19 AM
Smithers's Avatar
Smithers Smithers is offline
Admin
 
Join Date: Feb 2004
Location: San Luis Obispo, CA
Posts: 3,238
Send a message via AIM to Smithers Send a message via Skype™ to Smithers
Default

The self contained kickstarter mechanism. This is new to me as I'm used to dealing with Hondas.


Oil pump mechanism which is prone to stripping the output shaft that you see towards the bottom half of the pump with the brass bushing around it. I can see this oil putting a lot of stress on the pump causing the mechanical drive to strip out.
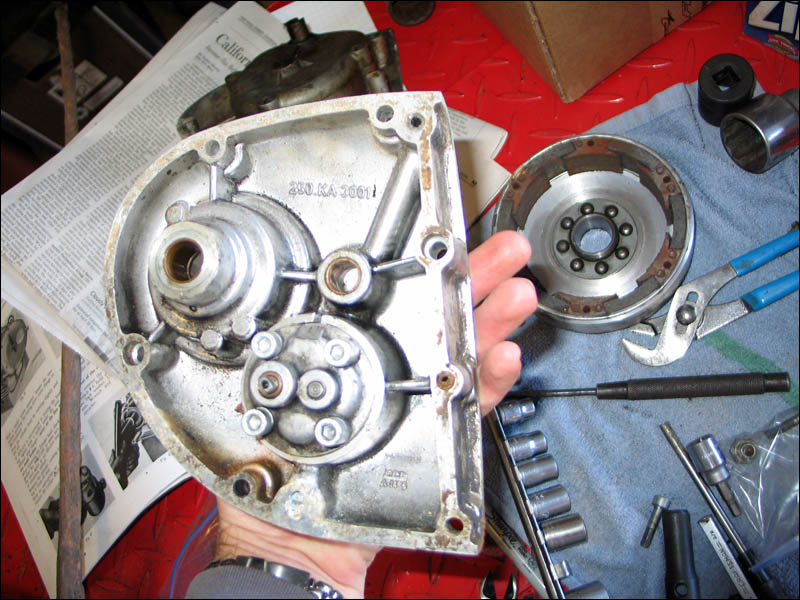
Reply With Quote
  #5  
Unread 02-09-2009, 01:23 AM
Smithers's Avatar
Smithers Smithers is offline
Admin
 
Join Date: Feb 2004
Location: San Luis Obispo, CA
Posts: 3,238
Send a message via AIM to Smithers Send a message via Skype™ to Smithers
Default

Removing a couple retaining piece screws with the air impact device. I'll have to find a closeup shot of them and you can tell that they weren't giving up easy.

Reply With Quote
  #6  
Unread 12-11-2022, 08:09 PM
Smithers's Avatar
Smithers Smithers is offline
Admin
 
Join Date: Feb 2004
Location: San Luis Obispo, CA
Posts: 3,238
Send a message via AIM to Smithers Send a message via Skype™ to Smithers
Default

How's the bike coming along?
Reply With Quote
Reply

Thread Tools

Posting Rules
You may not post new threads
You may not post replies
You may not post attachments
You may not edit your posts

BB code is On
Smilies are On
[IMG] code is On
HTML code is Off
Forum Jump


All times are GMT -8. The time now is 01:38 AM.


Powered by vBulletin® Version 3.7.4
Copyright ©2000 - 2024, Jelsoft Enterprises Ltd.